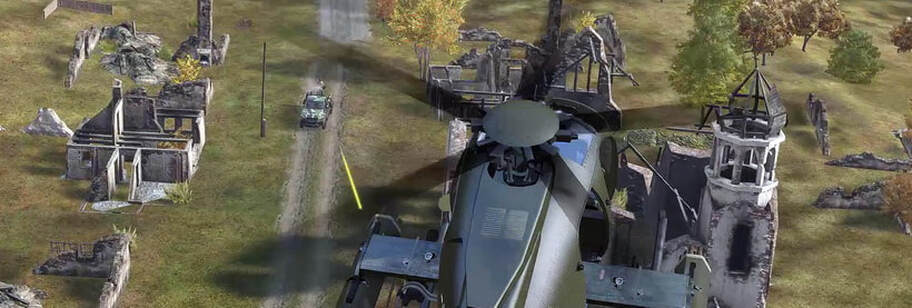
While flying CAS there will be times when a vehicle surprises you at relatively close range. When this happens, breaking away and putting distance, terrain, or other obstacles between you and the threat is often the best course of action, though survival tends to depend heavily on the accuracy and tracking abilities of the vehicle in question. There will be times, however, where another option will be available to you – one which can get you safely out of danger as well as potentially allow you to engage the vehicle without undue risk to yourself.
First, let's look at an average heavy machinegun or cannon threat in the context of Arma. Almost every vehicle-mounted weapon you'll find has a limitation inherent in the design – namely, that they can only elevate so high. Unless you're dealing with an actual anti-aircraft weapon, the odds are good that the primary turret of a vehicle can't elevate anywhere near straight-up, and the secondary armaments such as heavy machineguns still can't quite point straight up in the air.
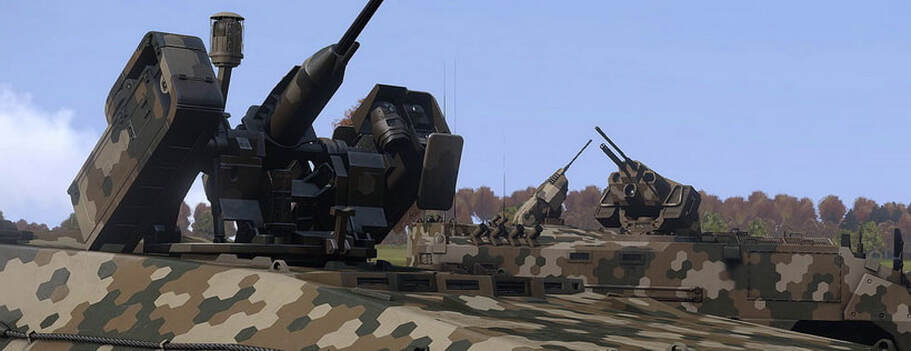
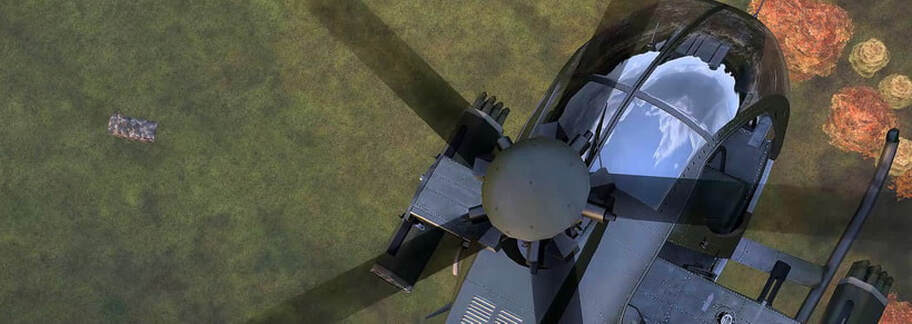
This leaves a dead zone above any given vehicle – an area in which they can't engage. The size of this dead zone varies depending on vehicle and turret configuration, but it's almost always significantly large in the context of helicopters.
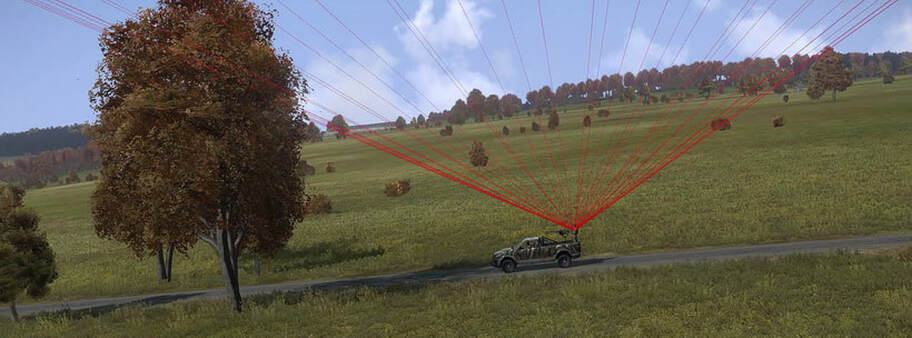
This is where the pedestal defense comes into play. This technique is used when you find yourself surprised by a sudden enemy vehicle appearance that's both relatively close to you and which you believe you can get into the dead zone of before it's able to effectively engage you. You need to be within a few seconds of flight time from their dead zone to be able to pull this off, so it mostly comes down to being able to near-instantly assess your options and choose whichever works best – be that conducting a pedestal defense or attempting to evade and extend.
To execute this maneuver, do a sharp turn towards the vehicle and fly over it. Once you're overhead, sharply hook around and initiate a tight spiral climb over it, attempting to keep yourself in the dead space above the threat vehicle. The tightness of the spiral will allow you to look down and maintain awareness of the threat, and so long as you keep yourself in that dead space, you can climb to a significant altitude without taking fire. Once you're high enough up there are two options – one, to egress, particularly if the threat is something you don't have much chance of hurting, or two, to attack it through a steep dive.
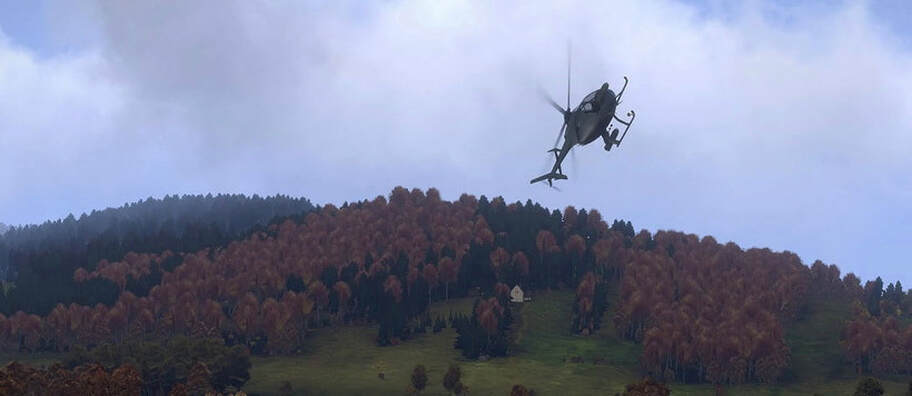
To turn this into an offensive maneuver, simply gain sufficient altitude. You probably want at least 300-350 meters, but this will vary based on the surrounding terrain.
Once at the right altitude, make sure you confirm exactly where the vehicle is, then roll and yaw over into a near-vertical dive. Align as best you can as quickly as possible, fire rockets or miniguns, and break early.
Once at the right altitude, make sure you confirm exactly where the vehicle is, then roll and yaw over into a near-vertical dive. Align as best you can as quickly as possible, fire rockets or miniguns, and break early.
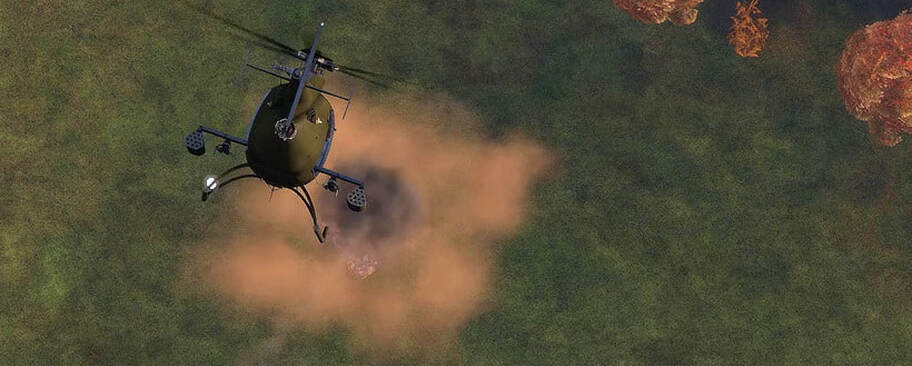
It's important to start the dive and fire your weapons from an altitude sufficiently high that you don't end up being shot to pieces if you miss and break away within the vehicle's threat envelope.
If you kill the vehicle, continue as normal. If you don't think you're going to be able to align in time, break ASAP and attempt to get back into the pedestal to climb safely up to a higher altitude. If you miss at a closer range, your best bet is to continue the dive, build up speed, and zoom away at low altitude as quickly as possible, jinking to disrupt their aim. If you can see the direction of the turret before you make your break, attempt to break opposite of where it's facing, as that'll force it to have to turn around to engage you.
If you kill the vehicle, continue as normal. If you don't think you're going to be able to align in time, break ASAP and attempt to get back into the pedestal to climb safely up to a higher altitude. If you miss at a closer range, your best bet is to continue the dive, build up speed, and zoom away at low altitude as quickly as possible, jinking to disrupt their aim. If you can see the direction of the turret before you make your break, attempt to break opposite of where it's facing, as that'll force it to have to turn around to engage you.
While the pedestal defense won't necessarily come into play that often, when it does, it can easily be the difference between survival and a shoot down. Just another thing to keep in your tactical toolbox.
