This chapter we'll be looking at the Light Attack Helo – more specifically, the Littlebird attack variants – and the fundamentals of operating them in a combat environment.
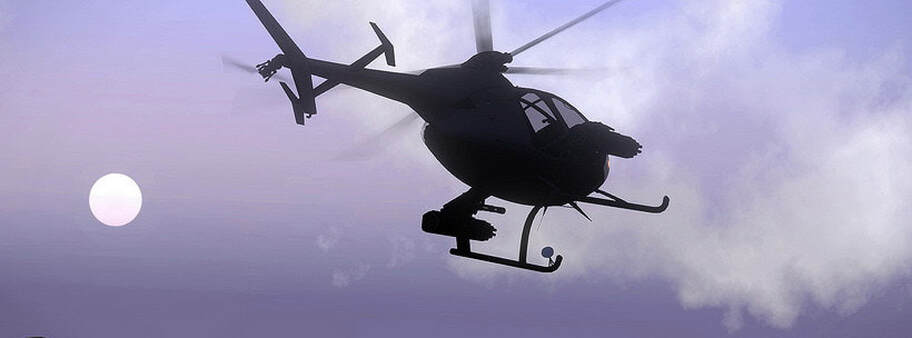
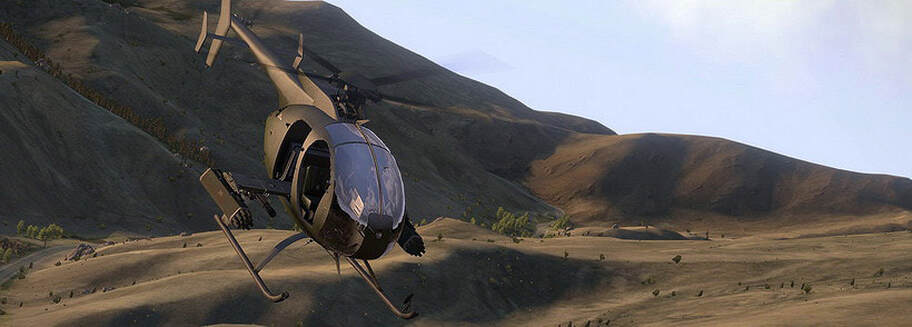
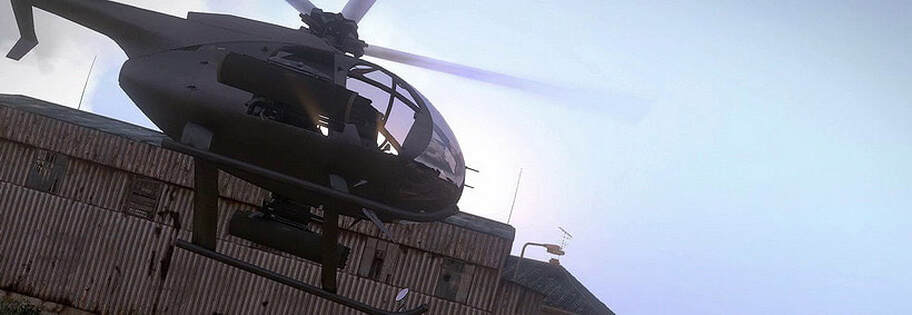
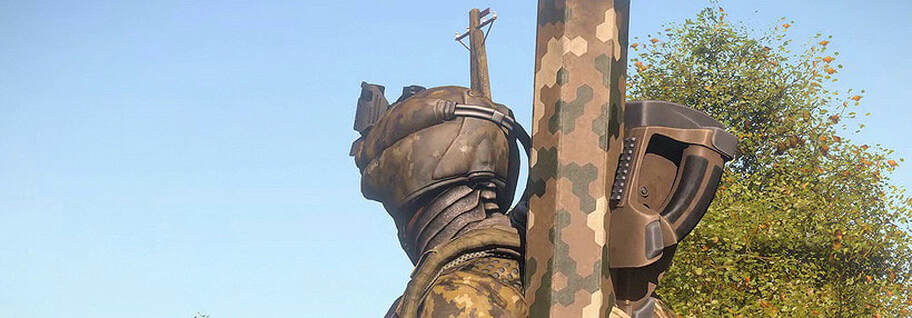
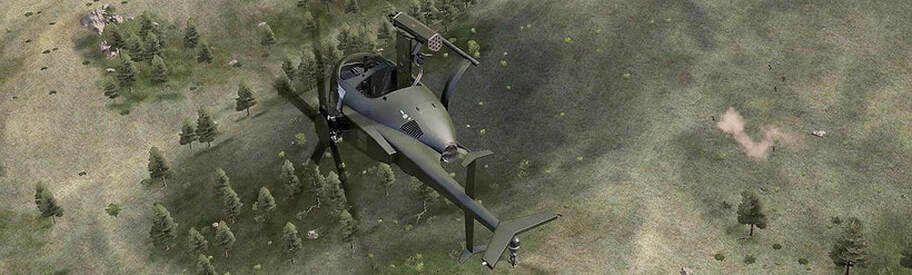
First, a few words about these aircraft. The Littlebird and Pawnee are the purest representations of both scouting and light attack – they're armed with fixed-forward weaponry that is aimed by the actual movement of the aircraft, they're the smallest helicopters in the game, and they offer little if any protection to their crews. They survive primarily by the continual application of raw skill, and at times, through good fortune. Flying and fighting in a Littlebird is exhilarating and intense, and every success won from them is done so through hard work and risk management. In the scope of this chapter, for the sake of simplicity, use of the term "Littlebird" implies the attack variant.
First, a few words about these aircraft. The Littlebird and Pawnee are the purest representations of both scouting and light attack – they're armed with fixed-forward weaponry that is aimed by the actual movement of the aircraft, they're the smallest helicopters in the game, and they offer little if any protection to their crews. They survive primarily by the continual application of raw skill, and at times, through good fortune. Flying and fighting in a Littlebird is exhilarating and intense, and every success won from them is done so through hard work and risk management. In the scope of this chapter, for the sake of simplicity, use of the term "Littlebird" implies the attack variant.
So, what's the role of these light attack aircraft in the context of Arma? Well, they serve two primary purposes – the first is acting as an aerial scout, while the second is providing close air support – often very close. In the context of this guide we'll be speaking to how they're employed when single-crewed.
We're looking at two main aspects of their employment – how to survive in a helicopter that is fragile and vulnerable, and how to fight in an aircraft that has fixed-forward, unguided weaponry. These are the fundamental skills one must develop before they can act effectively in the support of troops on the ground.
We're looking at two main aspects of their employment – how to survive in a helicopter that is fragile and vulnerable, and how to fight in an aircraft that has fixed-forward, unguided weaponry. These are the fundamental skills one must develop before they can act effectively in the support of troops on the ground.
Survivability
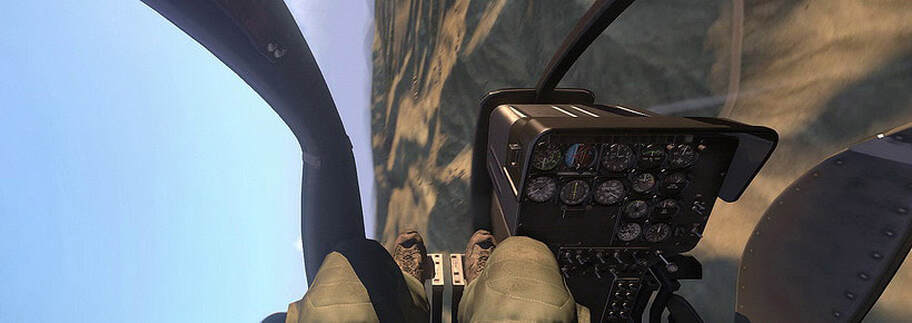
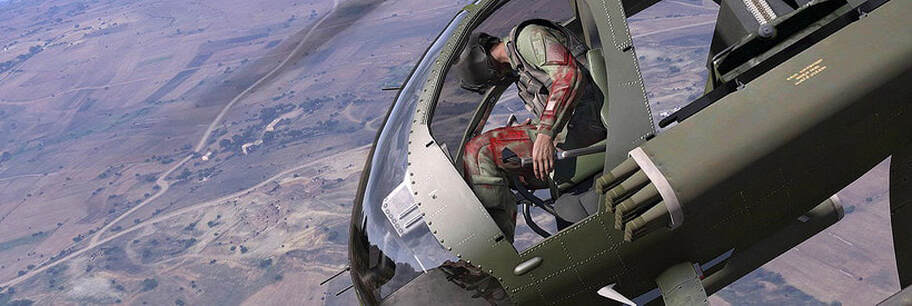
The first thing we'll work on is that of survivability. As noted, a Littlebird is a very fragile aircraft – the pilots have no appreciable protection to the front or sides, the airframe itself isn't armor-protected as with larger gunships, and because of these factors, anything on the ground is capable of doing significant damage to the aircraft or fatal damage to the pilot if given a chance.
Thus, survival is about giving the opposition the lowest possible chance of inflicting this kind of damage in the first place.
When you break this down to the component factors, there are three primary things in the control of the pilot that play the largest roles. These are:
• Speed
• Altitude
• Maneuvering
Two other considerations fall into the pilot's responsibility as a mixture of the above – specifically, they are hovering and taking cover, which will address separately of the other three.
The things that are out of the player's direct control are primarily the enemy forces and capabilities – in short, the enemy threat factor.
The enemy threat may be known or unknown at the start of any given flight, and a pilot must be able to make a reasonable determination of what the threat will be, and fly accordingly.
Pilot Factors
Let's talk about those pilot factors now. These are all heavily intertwined, so I'll cover them individually and then address them in their intertwined nature afterward.
Speed
First up is speed, and speed is life. The faster you fly, the harder it is for the enemy to hit you. Leading helicopters is a difficult gunnery challenge – the less stabilized the weapon, such as with infantry gear, the less likely it is that someone's going to be able to lead and hit your helicopter at high speeds – let alone with the precision or repeatability necessary to cause an issue.
If it was as simple as "fly as fast as you can at all times", there wouldn't be too much to say about it. Unfortunately, that's not the case – your speed will need to vary based on many factors, to include situations where you'll need to be at or near a hover for an engagement. You will continually be conducting risk assessment and management as you fly in a combat situation – it's just the nature of the beast. If you wanted something safe, you shouldn't have hopped into an aircraft that doesn't even have doors on it.
If it was as simple as "fly as fast as you can at all times", there wouldn't be too much to say about it. Unfortunately, that's not the case – your speed will need to vary based on many factors, to include situations where you'll need to be at or near a hover for an engagement. You will continually be conducting risk assessment and management as you fly in a combat situation – it's just the nature of the beast. If you wanted something safe, you shouldn't have hopped into an aircraft that doesn't even have doors on it.
Altitude
As to altitude - Altitude provides safety from different threats at different altitudes. Guided missiles are best avoided by being low and masking with terrain, while unguided machineguns and cannons can be mitigated by taking higher altitudes. Does this mean you always fly high when you're facing infantry or light threats? Certainly not – as with speed, you don't always get the luxury of flying in the safest possible fashion, and weapon employment requires various altitude considerations for maximum accuracy.
Maneuvering
Maneuvering is the final major factor under pilot control. Maneuvering allows you to further complicate things from the enemy perspective. If you fly along straight and level, Johnny Badguy has a much easier time trying to intersect his fire with your aircraft. Always remember that speed as a representation of shot difficultly is relative to the shooter – you may be flying at 200kph, but if you're unknowingly flying directly at an enemy machinegun, that will still make for an easy shot for him. Maneuvering is done in three fundamental ways – either by changing speed, direction, or altitude. You want to be as unpredictable as possible in this regard, while still being able to carry out your mission. If you look like you're putting on an airshow in one spot, you're probably taking the maneuvering aspect a bit too far – you want to make changes in speed, heading, and altitude at erratic times and do so with the enemy threat factor in mind.
Hovering
The next topic of consideration is that of hovering – when and how is it appropriate, and how should you do it? In short, textbook hovering within enemy view for more than a few seconds at a time is a good way to die regardless of what helicopter you're flying. Being at altitude is not an excuse to come to a dead hover for an extended period of time, and hovering low to the ground is a good way to give the enemy their national equivalent of a Silver Star for one-shotting a pesky helo. If you're using autohover in a combat zone, you are doing things wrong.
This isn't to say that you can't move slowly a times – you certainly can. You just can't generally come to a dead hover and stay there – hence the name.
What I've adopted I like to call a drift hover. This is where I make sure that there's some lateral drift relative to the direction I anticipate the enemy being. It doesn't have to be much – you just don't want to be hanging perfectly still in the air, inviting a precision shot into your cockpit. A drift hover can be used even while doing precision minigun fire. Just remember that you have to stay aware of the direction you're drifting – check it every few seconds so you don't inadvertently collide with a tree or similar.
Taking Cover / Masking
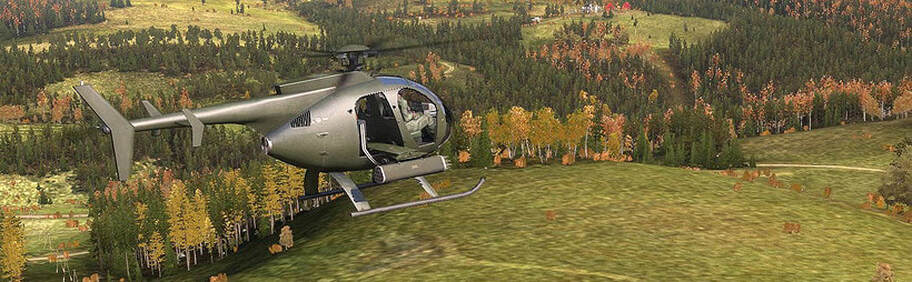
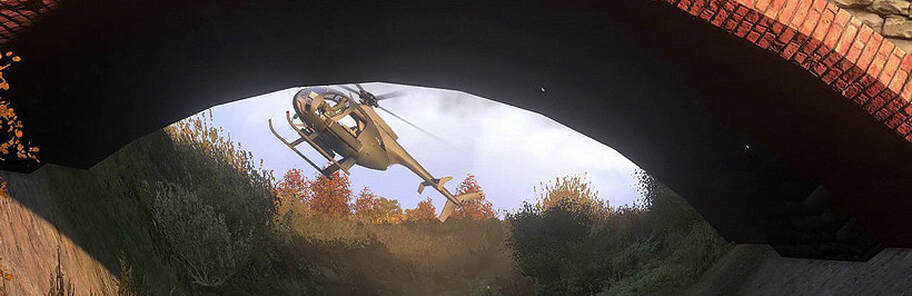
The Littlebird, like the name rather honestly states, is a small aircraft. Very small as well as incredibly agile. Because of this, you can take cover behind all sorts of terrain and ground clutter – some of which others might not expect. You can use buildings, trees, forests, shallow draws, large boulders, and much more for cover and concealment. While these will become more significant in the (TBD, name of section – combat? Whatever) section, it's worth noting this now so that you're comfortable with the idea of being creative with how you maneuver and what you can use to increase your survivability at low altitude.
One of the most significant things to remember about all cover or concealment is the purely relative nature of it. Taking cover from one obvious threat is just that – protection from a specific angle. If there are other unseen threats, or you stay in the same cover long enough for the enemy to maneuver, you're going to be in for a rude surprise. As a flip side of this, if you are facing threats from one specific direction, you can use your knowledge of their location to egress the area. Keeping a piece of hard cover – even a small one – between you and them can allow you to fly away from them, out of their engagement range, before ever having to unmask from the cover.
Defensive Maneuvers
Let's move on to talking about the different options available as reactions to enemy fire. There are two basic things you'll do upon taking fire.
Break Turns
Break turns are the first option, and are the core concept involved in defensive maneuvers. A break turn is when you rapidly change your direction in response to either actual or anticipated threats. Enemies engage you for two basic reasons – either because they think they have a good shot on you, or because they're trying to discourage you from attacking them. You conduct a break turn either when you're engaged by enemy within their threat envelope, or as a preemptive measure to avoid flying into that threat envelope. Broadly speaking, infantry can force a break at closer ranges, whereas vehicles cause it to happen at extended ranges due to their more accurate weapon systems.
The first is the purest form – or the break turn. This is when you turn either perpendicular to the threat or a bit past that. It's hardest to hit an aircraft flying perpendicular to the shooter, as that makes for the largest lead. By turning a bit further away, you can put greater distance between you and the threat faster, as well as present less of yourself to their gunfire. If you can see where the shots are originating from via something like TrackIR, you can finesse your turn to get the source masked by the rear structure of your aircraft. As far as the enemy threat factor, the best thing to remember is that while you do not have armor of any significance in the frontal arc of the cockpit, you do have a big chunk of aircraft sitting right behind you as well as below your feet. If you take unexpected enemy fire, one of the easiest go-to tactics is to roll and pull away such that instead of giving them an angle into the cockpit, you're forcing them to shoot into the bottom or rear of the aircraft. You may take engine damage or other damage in the process, but that's far better than taking rounds yourself.
The first is the purest form – or the break turn. This is when you turn either perpendicular to the threat or a bit past that. It's hardest to hit an aircraft flying perpendicular to the shooter, as that makes for the largest lead. By turning a bit further away, you can put greater distance between you and the threat faster, as well as present less of yourself to their gunfire. If you can see where the shots are originating from via something like TrackIR, you can finesse your turn to get the source masked by the rear structure of your aircraft. As far as the enemy threat factor, the best thing to remember is that while you do not have armor of any significance in the frontal arc of the cockpit, you do have a big chunk of aircraft sitting right behind you as well as below your feet. If you take unexpected enemy fire, one of the easiest go-to tactics is to roll and pull away such that instead of giving them an angle into the cockpit, you're forcing them to shoot into the bottom or rear of the aircraft. You may take engine damage or other damage in the process, but that's far better than taking rounds yourself.
The other variation is known as a 'break low'. This is when you do an evasive break turn followed by a rapid descent or corkscrew to low altitude and then mask with either terrain, buildings, trees, or anything else that might present itself. This will give you another opportunity to extend out of their engagement range, then come back and retort. In the unfortunate event that you have a guided missile fired at you, this is the only way to survive – the Arma 3 AH-9s, unlike the AH-6s, do not have flare dispensers or any anti-missile countermeasures. A break-low maneuver is the go-to tactic when engaged at altitude by enemy autocannon or similarly lethal threats.
Jinking
Jinking is the other core aspect of evasive maneuvers, where you're trying to avoid a continuing engagement, or prevent a solid single shot attempt. Jinking involves making rapid changes in direction – as an aircraft, this means you'll be using all of your inputs – cyclic, collective, and yaw – in order to make it harder for an enemy to predict your path sufficiently to throw bullets, cannon shells, or other unguided munitions into your aircraft. Jinking usually happens when you come under attack in a situation where you aren't able to make a hard turn to evade it, and is generally performed aggressively while you attempt to gain either distance or occlusion from the enemy. As noted earlier, your normal maneuvering should include altitude, speed, and heading changes on a fairly regular basis – jinking is taking that same idea and cranking it up to 11.
Combining Factors
When it comes to deciding how to react, your altitude will heavily dictate what evasive maneuver you should go for. Flying higher allows you to very quickly execute a diving maneuver to gain speed and make it harder to hit you, while being lower tends to incline you towards masking with terrain or ground clutter. Speed is a factor as well – if you're up high, diving will allow you to trade that altitude for extra speed very quickly, but if you're low and slow, it's going to take a few moments to get up to speed again. As a natural result of this, going slow is something that you are safer doing when closer to potentially masking terrain or ground clutter. For instance – slowly drifting at low altitude across a large open field is more obviously dangerous than slowly drifting along above and behind a treeline that's between you and known or expected enemy threats. If caught in that field, you're in a world of trouble – if you take fire behind the treeline, you simply drop down to mask and evade from there. The sky is always that 'big open field' – which is why you have to use a combination of both altitude and speed to keep yourself safer up there.
Attack Tactics
Surviving is one side of the coin, attacking is the other. Everything you know about survival will come into play during your attacks – either through helping you to conduct risk management in general, or as an aspect of setting up for or prosecuting engagements.
Enemy Threats
We covered the concept of the enemy threat earlier. To go further into it, let's look at what the different threat types mean to us not only when it comes to survival, but also the employment of our weaponry.
There are four basic classes of threats from enemy forces, with each having a spectrum of capabilities.
There are four basic classes of threats from enemy forces, with each having a spectrum of capabilities.
• Infantry small-arms. On the low end, this is basic rifles and light automatic weapons. On the high end, medium machineguns. You'll either see tracers or hear cracking if these are passing close to you.
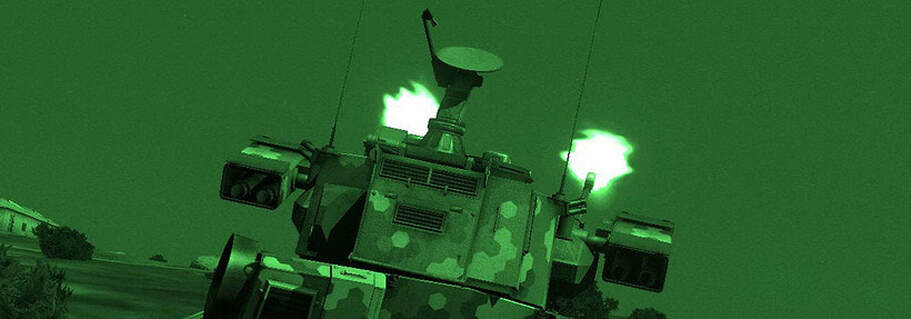
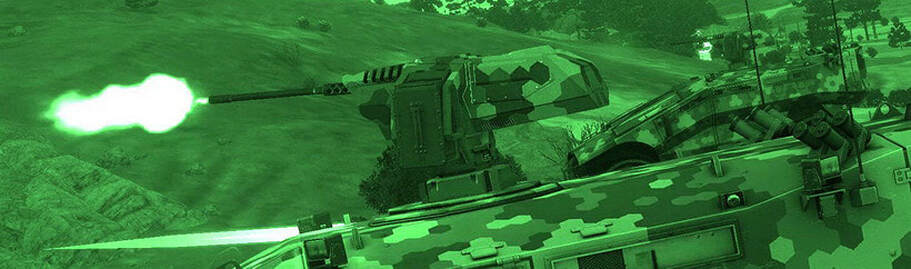
• Heavy weapons. The low end are .50 caliber or similar heavy machineguns – either vehicle- or tripod-mounted – while the high end are autocannons firing explosive ammunition. You can generally identify cannon fire via the explosions they make on impacting – this can be noticed best at low altitude where missed shots will explode against trees, the ground, and other obstacles.
• Unguided rockets. There is no real spectrum here aside from how easy a given rocket is for the enemy to aim and how fast it travels. Faster rockets are generally easier to lead with.
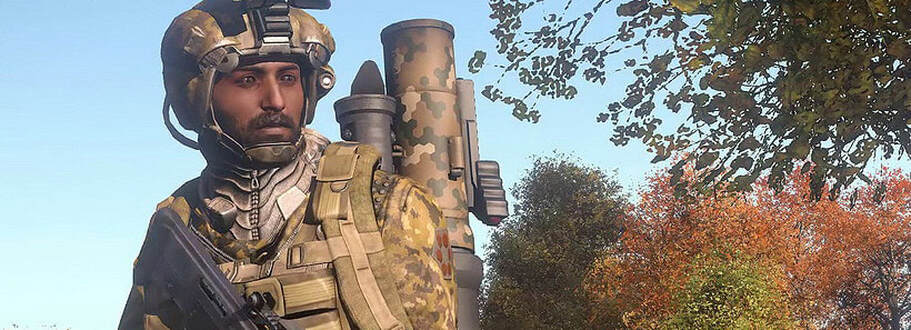
• Guided missiles. Anti-aircraft missiles, or missiles that can be manually steered from ground vehicles, are both very dangerous threats. Guided missiles are beyond the capability of a Littlebird to defeat with countermeasures, forcing masking as the only survival option, whereas missiles manually steered from ground vehicles can be dodged or masked from.
These weapons can be fired from different platforms – most commonly infantry, vehicles, and aircraft. For the sake of brevity we'll focus more towards infantry and vehicles and leave aircraft out of the mix.
When you're dealing with an airframe as light and vulnerable as that of a Littlebird, the easiest thing to say is that everything is a threat and you should treat every threat with caution. It's not as simple as that, however – while a rifleman can kill you dead just as easily as a heavy machinegun bullet can, there's a big difference in how likely and how severe the average hit will be – not just to your squishy body, but the airframe itself.
When you're dealing with an airframe as light and vulnerable as that of a Littlebird, the easiest thing to say is that everything is a threat and you should treat every threat with caution. It's not as simple as that, however – while a rifleman can kill you dead just as easily as a heavy machinegun bullet can, there's a big difference in how likely and how severe the average hit will be – not just to your squishy body, but the airframe itself.
Platforms with stability are more dangerous. This is why heavy machineguns are such a dramatic step up in threat from an infantryman's machinegun – particularly when they're aiming significantly above the horizon, as they often have to do to engage helicopters. The stability that the weapon mount offers allows for much easier leading and consistency of fire. From there, it's another step up to have more than just a kinetic round. This is what makes autocannons such a horrifying threat – if one of those rounds hits your aircraft, you're probably going straight to an emergency recovery of some sort. Heavy machineguns can rip you apart in a burst, but an autocannon may only need a single hit to do irreversible damage. Autocannons also tend to have better optic packages than your average heavy machinegun and are almost always mounted on some kind of vehicle that is beyond the basic killing capabilities of your stock Littlebird. So not only can you be torn apart by their cannons, you also have very little recourse to defeating them.
Rockets are a close-range threat only – typically dangerous at under 200 meters, and growing less so out to about 500 meters, where you can reasonably expect any hit to be mostly luck. The less predictable you are, the faster you move, the higher you fly – all of it factors into how hard you are to hit.
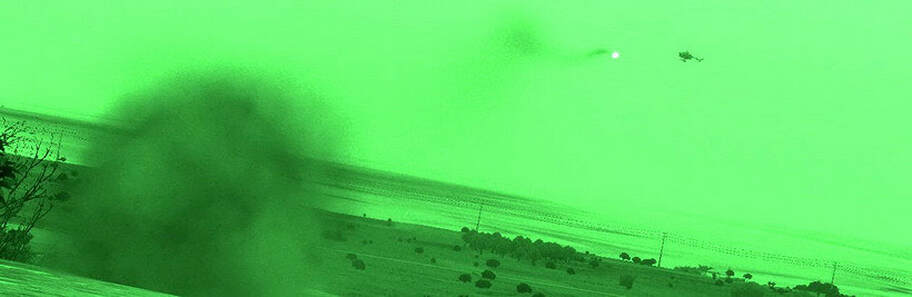
Missiles are the bane of the Littlebird. While your ego may tell you that you can survive in a missile environment, the odds are very much against this. The AH-9 has no countermeasures – if a lock is acquired and a missile launched, the only chance you have is to dive for the deck and get something between you and it. While the AH-9 has no countermeasures, it does have a missile launch warning system which will sound an alarm and indicate the direction and distance of the incoming missile on your HUD's radar.
Stay out of the missile-defended zones if you want to grow old. A single missile hit can knock out your engine and immediately force an autorotation.
Weapon Types & Employment
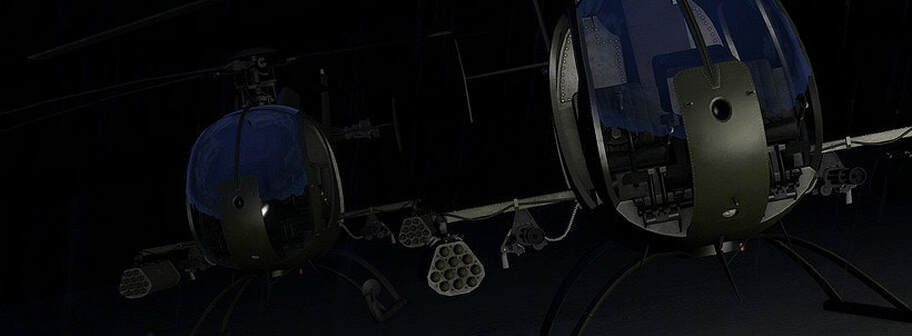
Before we can talk about what a Littlebird is useful against, we need to establish the armaments that you can expect to be carried by one. It's my hope that we'll see more variations on Littlebird armaments in the future, as we saw in the past with mods like ACE, but for now, we'll just go with the default armaments. In addition to introducing the weapons, we'll also talk about how they're best employed.
An AH-9 typically has two weapon types – a pair of 7.62x51mm miniguns, and two pods of FFARs. The minigun has 5000 rounds, while the rocket pods total to 24 rockets. These weapons are most effective in an anti-infantry capability – they're not designed for heavy hitting of armored targets.
An AH-9 typically has two weapon types – a pair of 7.62x51mm miniguns, and two pods of FFARs. The minigun has 5000 rounds, while the rocket pods total to 24 rockets. These weapons are most effective in an anti-infantry capability – they're not designed for heavy hitting of armored targets.
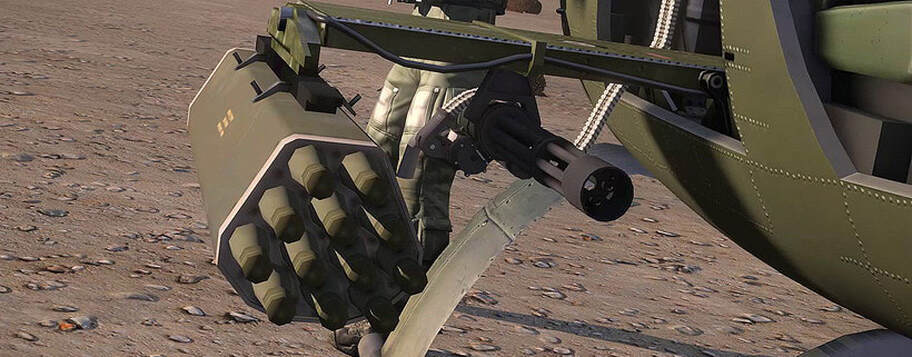
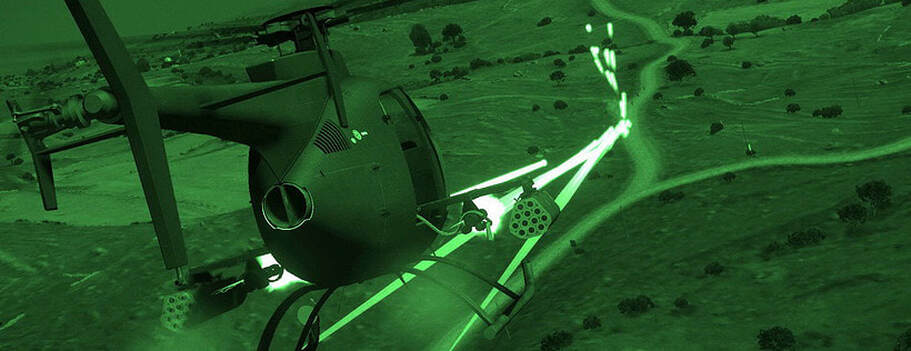
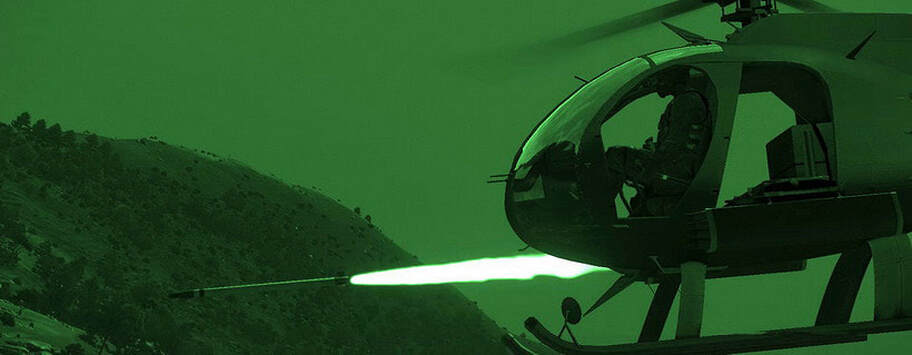
Minigun
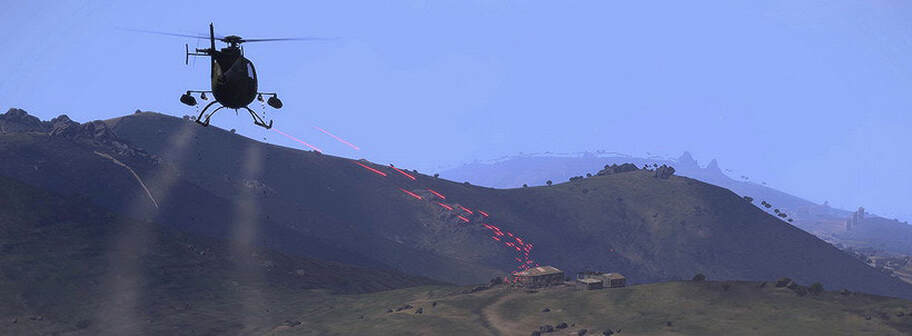
The minigun's 5000 rounds give it quite a bit of firing time, and the round it fires packs significant penetration capability against structures. This weapon is very effective against both infantry and light vehicles. When employing it, you're best to do so from as far of a range as you can accurately see and aim from – take advantage of the fact that the bullet spread will saturate a larger area over distance, and remember that the further away you are from the enemy, the harder it is for them to engage you with small-arms or similar. A few rifles or machineguns firing at a small target floating 800 or more meters away from them is a much harder target than you'll have through spraying their area with thousands of rounds per minute of minigun fire.
Whenever possible, you'll want to be extremely precise with your first burst of fire on any given target. You need to understand how the bullets will drop over range and be able to compensate for that. The first burst is where you'll see the most effectiveness from, as the target likely won't see it coming or have time to react. Missing with that burst will give the target – and anyone around them – time to displace or take cover. Make that first burst count!
Whenever possible, you'll want to be extremely precise with your first burst of fire on any given target. You need to understand how the bullets will drop over range and be able to compensate for that. The first burst is where you'll see the most effectiveness from, as the target likely won't see it coming or have time to react. Missing with that burst will give the target – and anyone around them – time to displace or take cover. Make that first burst count!
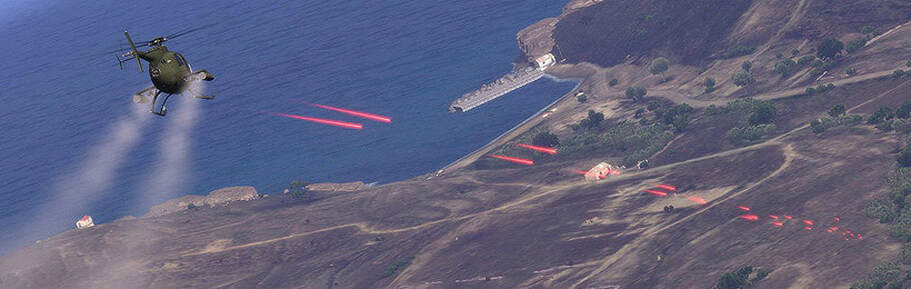
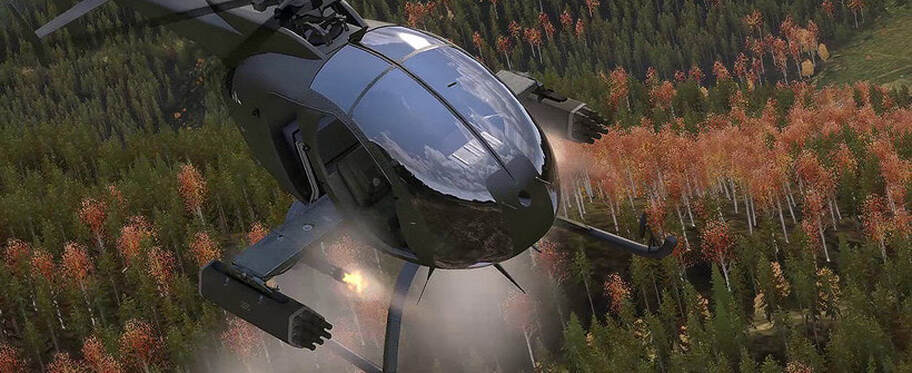
FFARs
The Littlebird's rocket pods are best employed in one of two fashions – either to smash a cluster of enemy infantry, or destroy light armored transports that the miniguns couldn't otherwise damage. Your goal should be to use these very sparingly – only fire as many as needed to deal with the threat. Being able to pop a single rocket at a time is a good skill to develop. Some things, like MRAP vehicles, will need a pair or more to have good effect, but almost any infantry situation will be best served by deliberate single rocket shots. Remember that your accuracy depends heavily on your relative movement – you want to be flying straight and steady towards a target before firing, else you're likely to see the rocket veer off to one side and go where you weren't expecting it to. Always remember that these have very poor effect against armored targets – even the lightest armored vehicles will require several hits, and heavy armor is virtually immune to them.
Plunging vs Grazing Fire
The next thing we need to establish is the difference between plunging and grazing fire, and how this applies to both the rockets and miniguns equally.
Plunging Fire
Plunging fire is where the aircraft is firing more or less perpendicularly to the terrain the target is positioned on, from a generally high angle. Plunging fire tends to happen during dives – though it's not exclusive to that – which generally means that there's a limited amount of time to take a shot before you've either flown into the range of enemy weapons or, worse, terrain.
Plunging fire is generally used for rockets. The reason for this is that it helps to minimize the potential for misses – if you're off in aim by a few meters, the rocket will still impact close enough to the target to cause harm. Rockets are also easy to fire from a distance, permitting a break turn long before coming into the effective range of enemy fire. However, plunging fire can also be used with miniguns, so long as you stay aware of your distance from the enemy and don't allow target fixation to draw you into danger. There are circumstances – such as hillsides – where plunging fire happens with the aircraft in a level attitude, which negates the main risk of the tactic, which is inherent in the typical diving nature of it.
Conducting a plunging attack while in a dive requires knowing the exact performance characteristics of the aircraft, such that you are able to pull out of the dive long before you're at risk of colliding into the terrain. Target fixation during a dive is one of the leading causes of pilot death – don't chase your target into the ground. You can always make another pass if this one doesn't work out.
Grazing Fire
On the other hand, grazing fire is when you're firing parallel (or reasonably close) to the terrain or target from nearly the same altitude as the target. This is to be avoided with rockets, as a rocket being off-aim slightly can cause an impact either hundreds of meters short, or hundreds if not thousands of meters long – wasting what is ultimately a very limited asset. Miniguns, however, mitigate this through both the rate of fire and the ammo capacity – as well as characteristics like ricocheting.
One other distinction between plunging and grazing fire is how the aircraft appears to the enemy. A plunging attack from high altitude may not be obvious until rockets or bullets start landing around people – they may not otherwise notice the aircraft running in on them before it's too late. Firing into the air is also more difficult for infantry to do, though the same can't be said of stabilized or mounted weaponry. Grazing attacks tend to be at roughly the same plane as where the infantry would normally be scanning – which means that a grazing attack will be safer to execute from longer-range, whereas plunging attacks can happen at closer ranges (and higher altitudes).
One other distinction between plunging and grazing fire is how the aircraft appears to the enemy. A plunging attack from high altitude may not be obvious until rockets or bullets start landing around people – they may not otherwise notice the aircraft running in on them before it's too late. Firing into the air is also more difficult for infantry to do, though the same can't be said of stabilized or mounted weaponry. Grazing attacks tend to be at roughly the same plane as where the infantry would normally be scanning – which means that a grazing attack will be safer to execute from longer-range, whereas plunging attacks can happen at closer ranges (and higher altitudes).
Target Types
The targets you'll be facing as a Littlebird pilot are the softer ones on the battlefield. Your rockets have poor anti-armor effect, while your miniguns won't do much to anything but the thinnest armor. Wheeled vehicles are particularly vulnerable to the miniguns – while you may not be able to pierce their armor, knocking out their mobility can be almost as effective. Your rockets can be used to damage or destroy MRAP-class vehicles like the Ifrit, though it's generally more efficient to mobility-kill their wheels than waste rockets on their armor. A vehicle that has lost mobility becomes something your friendly forces can either more easily knock out or avoid altogether.
Some enemy turrets, like that of the BTR-K, can be disabled through massed minigun fire. You would not want to get into a duel with such a vehicle, but if you caught one by surprise or hit from a distance without it noticing you in time, a good burst of minigun rounds could disable the turret.
The targets you'll be most interested in are light vehicles and infantry. UAZs, BRDMs, and other Cold War-era tech is vulnerable to your rocket fire, and anything with little or no armor can be wrecked with the miniguns. Infantry are susceptible to minigun and rocket fire – rockets should be saved for clusters, while miniguns can be used to target individuals or area targets.
Attack Types
Aside from the distinction between plunging and grazing fire, there are several distinct attack types that can be utilized in a Littlebird. We'll cover these in the order in which they tend to be applicable, from low-threat to high-threat environments.
Slashing
The first is the slashing attack. In this, the aircraft makes an attack run and continues over and past the target after firing on it. This is only done when you are reasonably certain that there's no abnormally increased risk by flying past the target. For instance, repeated attacks on an isolated element of enemy forces might benefit from doing slashing attacks from different directions, so long as they remain isolated. Slashing attacks are also helpful in environments that are so hot that you can't slow down much without incurring unnecessary risk. Remember that doing a slashing attack simply means that you're flying over or near the enemy and passing beyond it – you can curve into a turn or do whatever you want after the run. We'll discuss reengagements in more detail shortly.
Break-Off
The break-off attack starts the same as a slashing attack, with the difference being that as soon as you fire, you immediately break off from the run to avoid passing over or near the target. This is done to avoid flying deeper into a hostile environment, or when proximity to the target brings a greatly increased risk of damage, such as when attacking infantry that are actively trying to shoot the aircraft down with massed fire. When conducting a break-off attack, try to shoot from as far as you accurately can, and don't allow target fixation or 'the perfect shot' to drag you into danger.
Stand-Off & Pop-Up Attacks
Stand-off and Pop-Up attacks are very similar – the main difference is that the former assumes limited anti-air threats, while the latter is more appropriate for situations where an anti-air capability is present – this can be anything from a heavy machinegun to something much larger.
The similarities are that both attacks utilize low-speed flight or a drift-hover to engage from an extended range, without closing on the enemy in any substantial degree. This is the ideal situation in which heavy target saturation can be achieved with the miniguns, as the impact area becomes large and remains quite dense.
The similarities are that both attacks utilize low-speed flight or a drift-hover to engage from an extended range, without closing on the enemy in any substantial degree. This is the ideal situation in which heavy target saturation can be achieved with the miniguns, as the impact area becomes large and remains quite dense.
A pop-up attack is the same general idea, except the aircraft will stay concealed behind terrain or other hard cover, pop up from it for the duration of an engagement, and then immediately return to that hard cover.

There are two other variations on these themes – one is called a Running Pop, and the other is a Close Pop.
A running pop occurs when an aircraft at low-altitude and high speed pulls back sharply into a climb, reaches the apex of the climb, then noses over and engages targets before breaking off and descending back towards cover.
A close pop is a means by which an aircraft can make themselves a hard target at closer ranges where they need to face off and engage something. This can occur from unexpected contact, time pressure, and similar constraints. A combat pop involves pulling in maximum collective in order to ascend straight up while aiming at and engaging a target, then immediately breaking away.
A close pop is a method by which a pilot can minimize his risk while popping up to either observe or engage a target. If lateral movement isn't viable for whatever reason, and it does happen, pulling in maximum collective to climb can add a vertical element that makes it harder for any enemies to engage you. This is named a 'close pop' simply because it tends to happen with the enemy close enough to be a threat.
Reengagement
Reengaging targets can happen in a variety of different ways. The one thing you want to try to avoid is being too predictable. Whenever possible, it's helpful to attack from new directions and not develop a routine that the enemy can anticipate and ambush you during. The unfortunate reality of supporting troops on the ground means that this isn't always as easy as it sounds – sometimes the geometry of friendly and enemy positions restricts you to specific ingress and egress directions. When that's the case, exercise extra caution, try to fire and break from longer distances, and continually be managing risk in your mind. There will be times when you have to get closer than you want because of the proximity of enemies to friendly forces. This is an inherent factor in being the close support that you are.
There are three basic ways to bring yourself around for a reengagement.
There are three basic ways to bring yourself around for a reengagement.
Basic Turn
The first is simply making a turn. This can be a high speed turn when close to the enemy, or a slower one when further away. Turning mixed with low-level flight and masking with terrain allows for a pilot to set up for a reattack without the enemy knowing exactly where that attack will come from.

Sliceback
The next method is a sliceback maneuver. This is a climbing turn that's angled about 45 degrees to the left or right. As you reach the apex of the climb, you begin to come around and descend again. This allows you to maintain a lot of movement and speed relative to whatever you engaged. Slicebacks are excellent when the threat environment is particularly hostile towards slower flight and you need to keep your momentum up.
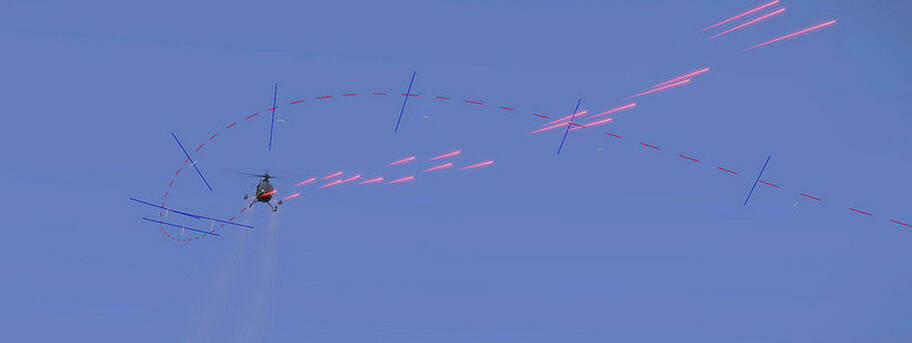
Return to Target
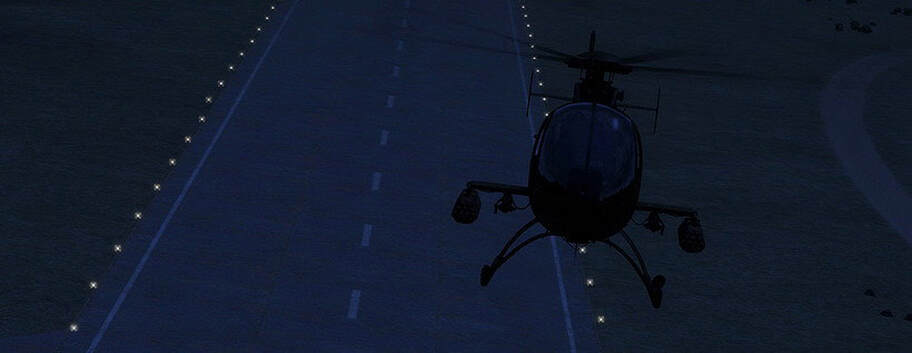
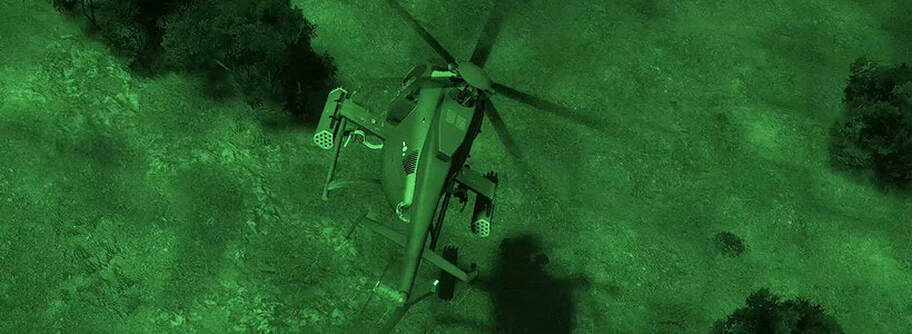
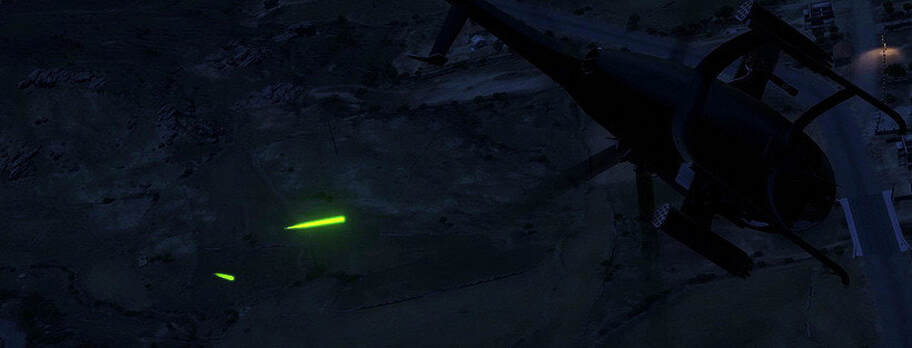
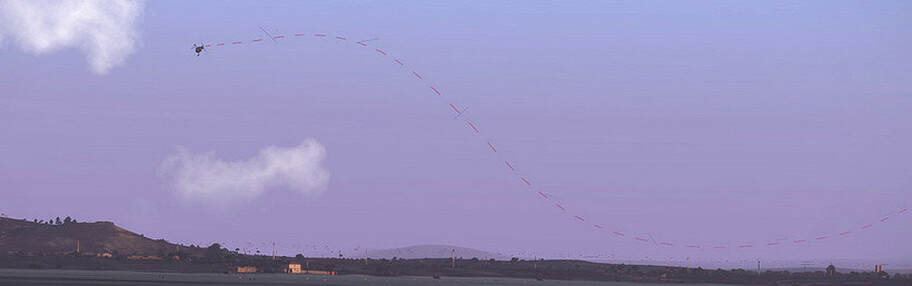
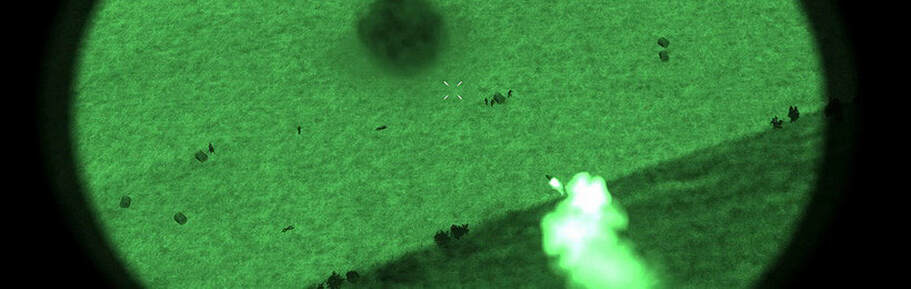
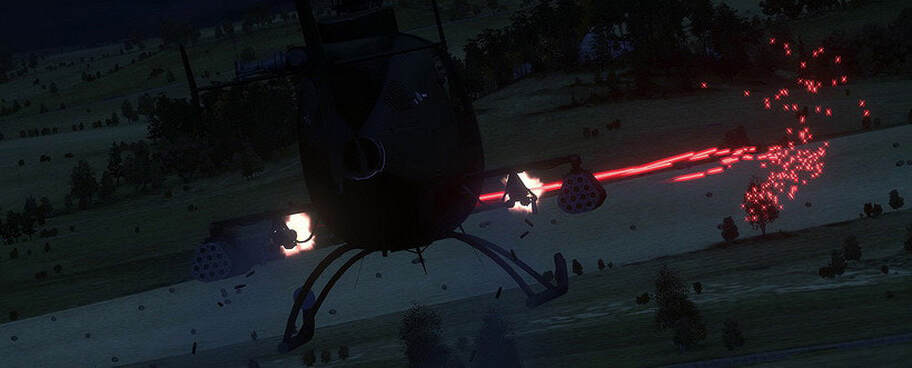
The final maneuver is known as a return-to-target, also called an ag turn. In the example shown here, green chemlights illuminating smoke indicate friendly positions, while red chemlights and smoke indicate the target, revealing a situation in which only a few narrow lanes can be used to safely strafe the target area. Ag turns can be used in this sort of situation in order to more rapidly reattack a target while keeping the ricochet hazard to friendlies down.
Ag turns allow you to very rapidly decelerate and turn around more or less in place. To accomplish this, you make a cylic climb to bleed airspeed and gain some altitude, then use rudder to yaw, reverse direction, and end up diving back down in the direction you'd come from. At the peak of the climb, you're moving very slowly relative to the enemy – this is a maneuver that should not be done when actively being engaged by enemy forces at close range except in the direst of circumstances, and the further away you are from the enemy, the better, as you see here.
Slicebacks are better used against hostile targets at closer ranges, while ag turns are best when further away from the enemy and the need to maintain your relative bearing from them is important, such as when setting up for a stand-off attack.

Conclusion
We've covered the fundamental tactics involved in surviving and attacking in the Littlebird. Mastering these concepts is essential and acts as the foundation from which your capabilities as a close air support pilot will be built upon. In later chapters, we'll go more into detail as to what exactly supporting troops on the ground entails, and how these different techniques can be applied to a wide variety of combat situations.
