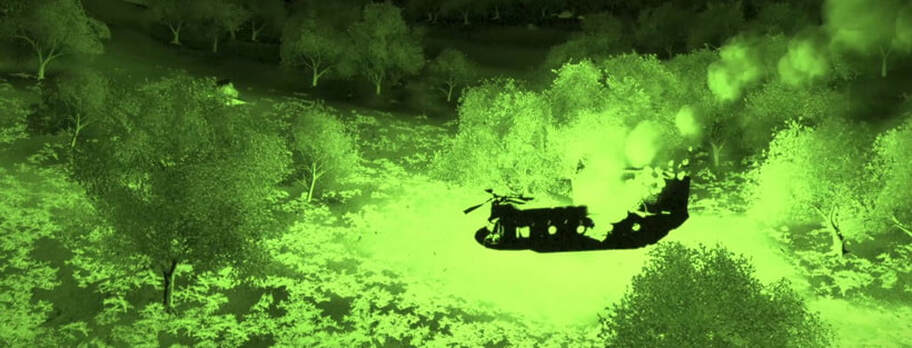
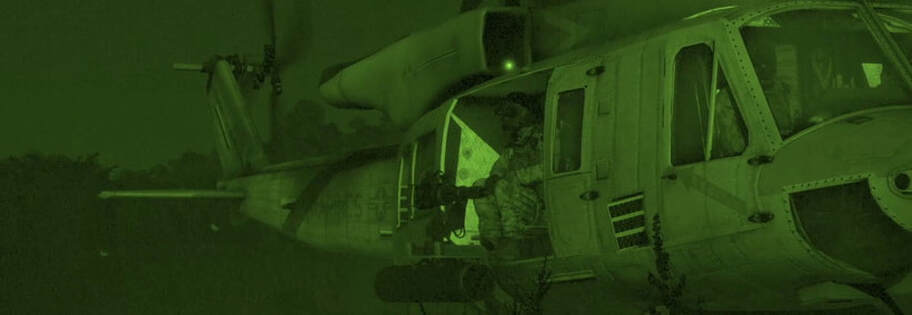
Flying with nightvision has the potential to add a great deal of complexity and challenge to any aviation tasks. With a restricted field of view and variable visibility based on weather factors, a broad range of potential environments can be encountered, some more dangerous than others.
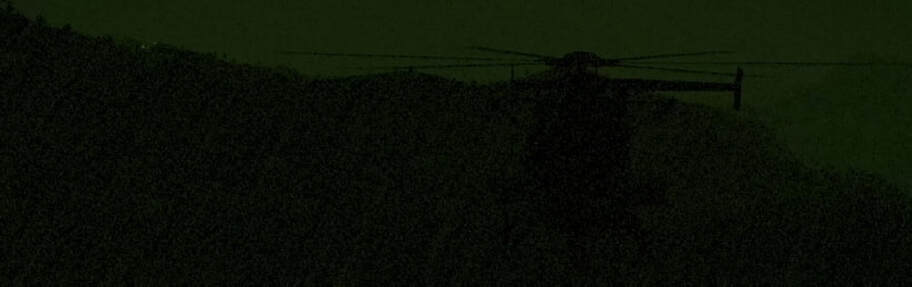
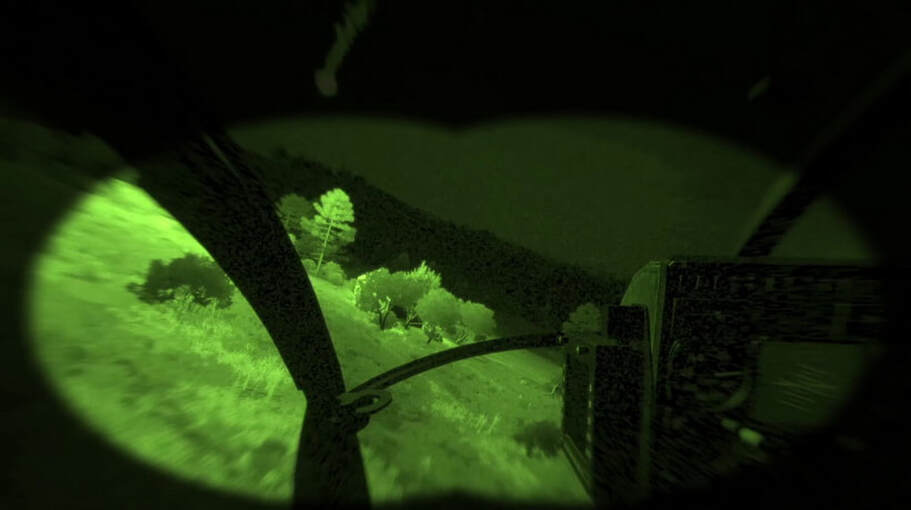
When the skies are clear and sufficient ambient light is available, nightvision flight is only slightly different from daylight flight – mainly as a result of the reduced field of view given by the optics.
When the skies are clear and sufficient ambient light is available, nightvision flight is only slightly different from daylight flight – mainly as a result of the reduced field of view given by the optics.

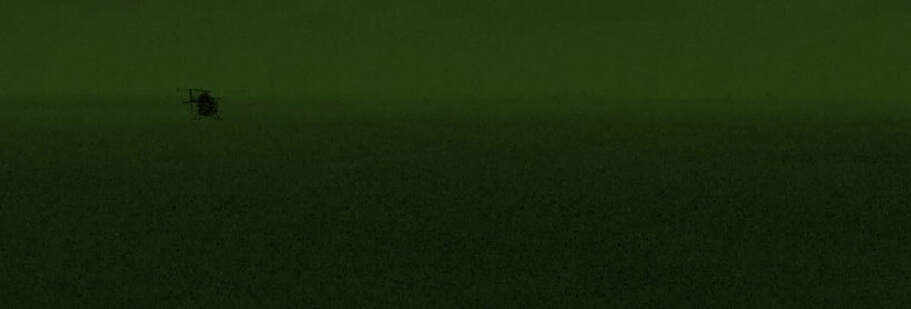
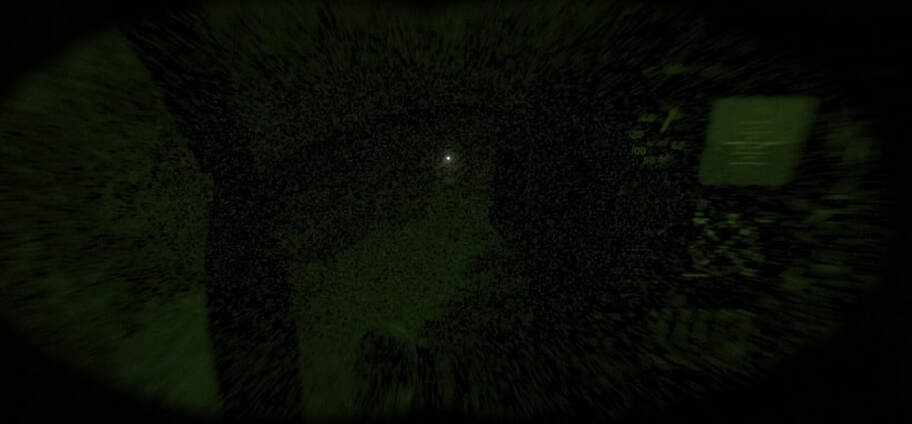
However, when the skies cloud over, the moon disappears, or a storm rolls in, nightvision can rapidly degrade to the point of uselessness in the worst of scenarios.
Hazards
Being familiar with the hazards that can accompany night flight is the best way to guard against falling victim of them.
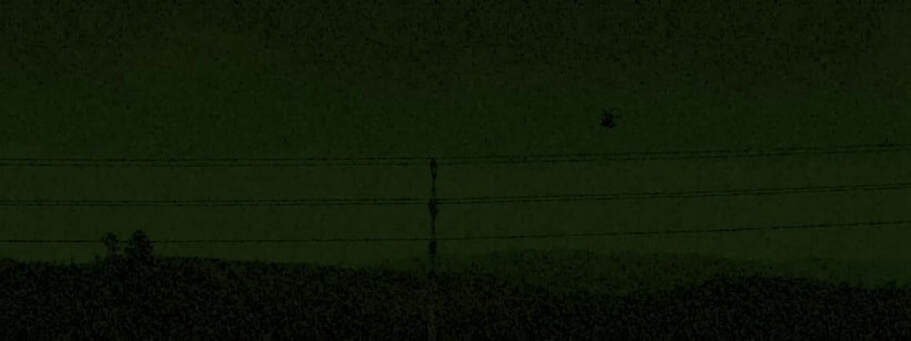
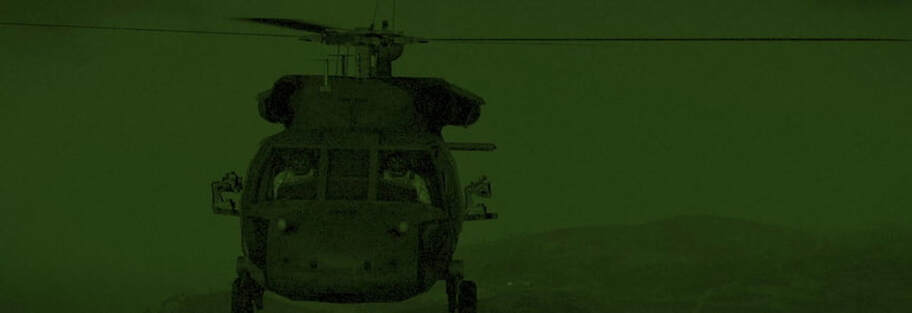
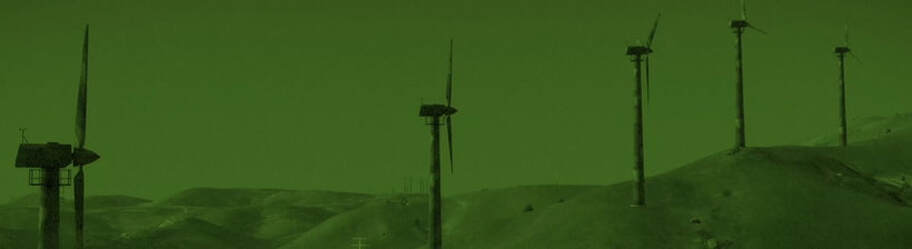
First, as visibility degrades, your ability to identify obstacles degrades with it. While you might be able to see poles and wires in high illumination, you're unlikely to notice them as easily – or at all – in low illum.
First, as visibility degrades, your ability to identify obstacles degrades with it. While you might be able to see poles and wires in high illumination, you're unlikely to notice them as easily – or at all – in low illum.
Featureless terrain becomes a more significant hazard. The salt flats of Altis are a good example of this, as is any body of water. This sort of terrain makes it difficult to judge altitude and can even influence your perception of attitude, both of which can rapidly turn fatal due to the altitudes helicopters generally operate at.
It's possible to become disoriented in low illumination environments. Glare or reflections on the cockpit glass can give you a false sense of movement, causing you to compensate with your flight controls, which in turn puts you into a maneuver you didn't intend and likely won't notice.
False horizons can occur as well, particularly in heavily mountainous or steeply hilly terrains. Leveling out of a turn, you may orient on the slope of a mountainside, thinking it's the horizon – and as you match to it, you'll quickly start to depart from your intended flight path, which can become fatal in short order.
There are two aspects to avoiding these and other hazards – one is by making use of the tools available to you, while the other is based on procedures that can help mitigate the risk factors.
Helpers
The first and most readily available of your tools is your aircraft's instrumentation. While Arma is not a full-fidelity simulator, the basic instruments either exist in sufficient clarity to be used, or are abstracted sufficiently for use.
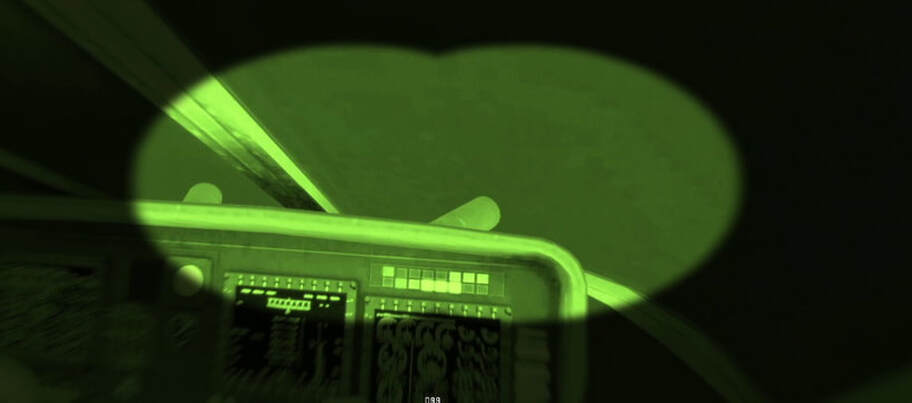
Cockpit Instruments
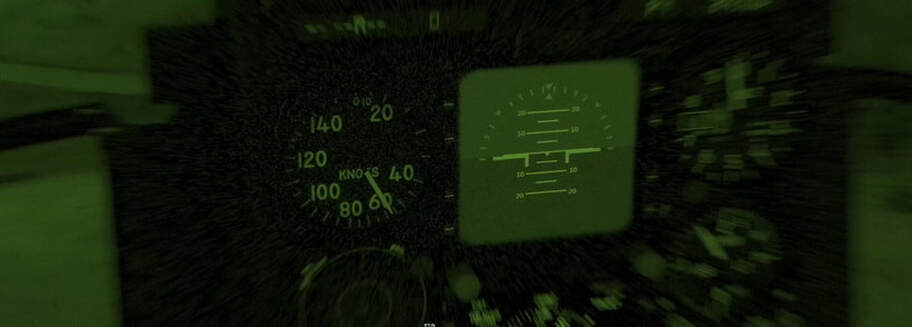
Within the cockpit your primary instrument is the artificial horizon. This will save you in low illumination and is the primary way to avoid false horizons and recover from spatial disorientation. Keep in mind that different aircraft have this modeled differently – some have it in a ball format, while others use MFD variants. Some are easier to see through nightvision than others. Make sure you familiarize yourself with the appearance of your artificial horizon before you take off.
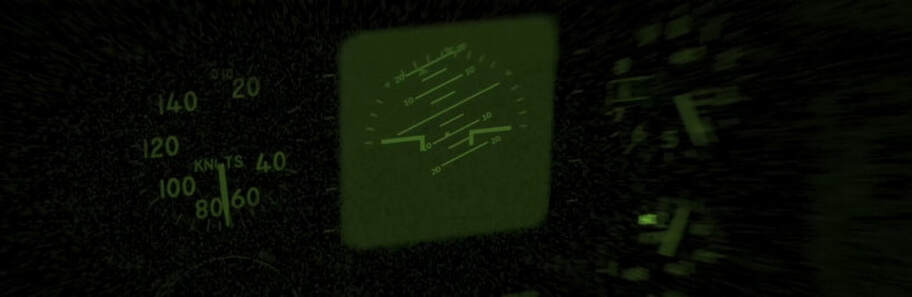
You'll also have airspeed and altitude indicators, which can be found on the instrument panel and also in the game's HUD. I prefer looking at the HUD variants of these, as they're instantly readable in a way that the instrument panel variants often aren't. Keep in mind that the airspeed indicator is intended for forward airspeed – it won't give reliable indication of lateral speed.
Remember that any in-game instrument can potentially be seen more clearly via removing your nightvision, assume they're lit up. This is something to only do with preparation, when time permits – it will take a few moments for your eyes to adjust to be able to read an instrument after removing your goggles, while it will take additional time for the goggles to turn back on afterwards. If you have a copilot, give them this task instead, so that only one of you has your goggles off at a time.

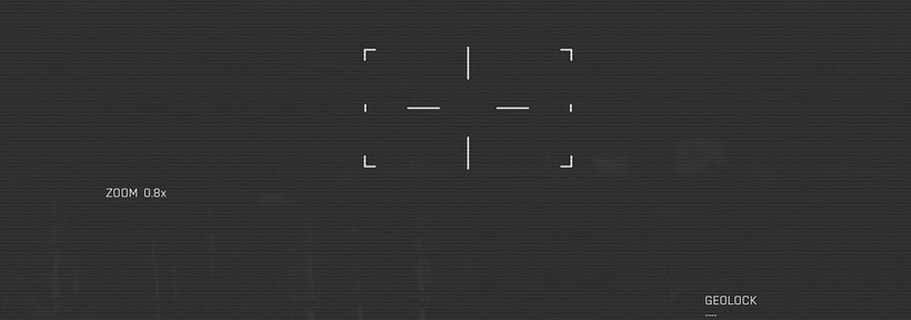
Sensors
Many aircraft have sensor pods on them, some of which include thermal imaging systems. When available, these are a major boon towards operations in low-light conditions, as the clarity of a thermal sight will not be directly degraded by low illumination. A copilot operating a thermal sensor can talk the pilot through maneuvers that would carry a higher risk otherwise.
External Vehicle Systems
Next we have systems mounted to the exterior of any given aircraft in the form of lights.
Anticollision or running lights can be employed when flying in non-combat areas, such as when ferrying troops from a rear area towards the front lines. It's generally prudent to turn them off before coming into view of enemy territory. However, there are situations where you'll want to keep your lights on, such as the MELB's infrared lights which the enemy won't be able to see, or when operating in conditions where maintaining awareness of other aircraft is more of a risk mitigation than staying hidden from enemy ground forces. This is a judgment call that will need to be made on a case-by-case basis.
Anticollision or running lights can be employed when flying in non-combat areas, such as when ferrying troops from a rear area towards the front lines. It's generally prudent to turn them off before coming into view of enemy territory. However, there are situations where you'll want to keep your lights on, such as the MELB's infrared lights which the enemy won't be able to see, or when operating in conditions where maintaining awareness of other aircraft is more of a risk mitigation than staying hidden from enemy ground forces. This is a judgment call that will need to be made on a case-by-case basis.
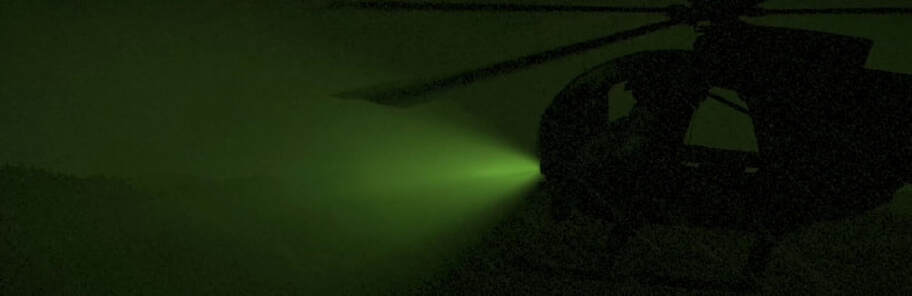
The other light is the landing light. Due to the fixed angle these are at in Arma, you'll need to be moving at a slower speed to make full use of them. When you're low and need to see, and the tactical situation permits, the landing light is a great way to do so – just make sure you're don't fly faster than the light gives you room to see and avoid obstacles. As with anticollision or running lights, a landing light should generally not be on in a combat environment, but can absolutely be employed during landing if the benefit of seeing the area more clearly outweighs any stealth concerns. Again, a judgment call. Landing lights can also be temporarily turned on to help acquire aircraft in a flight that are otherwise hard to notice.
Checking your anticollision and landing light in a safe environment is a good way to familiarize yourself with their behavior in the current weather and lighting conditions before you find yourself actually needing them.
Safety Procedures
Safety in night operations comes through adherence to good procedures, planning and acting with heavy emphasis on risk management, and familiarity with potential hazards.
General
Planning and risk management are the baseline through which safe night flight is conducted. A pilot's workload is heavier in low illumination, requiring them to spend time on spatial cognition that normally would be free for other tasks. As a result, anything that can be done while safely on the ground that will help to lessen your workload in the air should be done.
When possible, particularly on very poor illumination nights, a copilot can help to spread the workload and allow for more effective and safer flight operations. While this isn't always practical from a manpower standpoint, there will certainly be environments where a copilot will pay off.
When possible, particularly on very poor illumination nights, a copilot can help to spread the workload and allow for more effective and safer flight operations. While this isn't always practical from a manpower standpoint, there will certainly be environments where a copilot will pay off.
Your planning phase should include…
• Route planning. Think about where you need to go, how you could get there, and pick different routes to use. You can employ A3's line drawing to indicate different paths, as well as place named markers as initial points or holding points around the area of operations. Also consider the presence of featureless terrain, and particularly in low illumination, plan to avoid flying over it when possible, and if not, have a plan for how to traverse it.
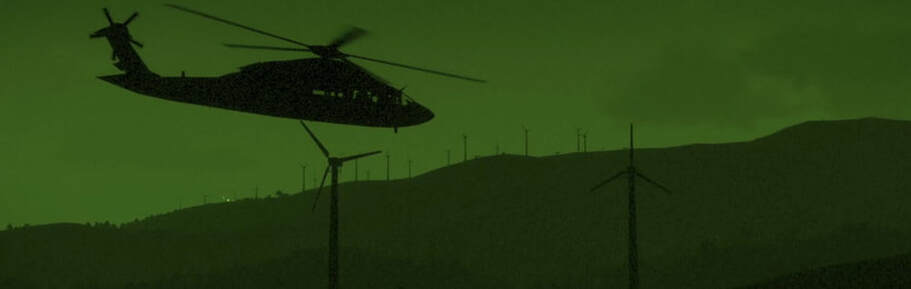
• Terrain and obstacle awareness. Look at what's in the area and try to picture it in your mind. Determine what the general risk factors are, such as by identifying large towers, powerlines, steep rises in the terrain, hills, mountains, etc.
• Time and weather considerations. If you have a forecast, what is it? Plan for what you'll do if the weather deteriorates. If it's close to dusk and you expect to be flying through nightfall, plan for the worst case visibility before you lift off, so that you'll be able to handle it when it happens.
Flight
Safety in the air comes from understanding flight hazards and risks and utilizing proper risk management and low-visibility flight procedures to mitigate them.
The simplest insurance against catastrophe while flying in low visibility is to tone down every maneuver you make. Turns should be shallow and graceful, and excessive high or low nose attitudes should be avoided.
Every maneuver should be conducted in such a way as to always have a clear point of visual reference outside of the aircraft. Failing to establish a visual reference can result in disorientation that can become fatal in a matter of seconds.
Always check your artificial horizon after completing a maneuver, and if possible, watch it during your maneuvers. This helps to avoid disorientation and prevents you from falling victim to false horizons.
If you lose visual reference or something feels off or wrong, immediately transition to your instruments and begin to climb. Establishing level flight is the most important aspect of recovery, and climbing as an instinctive action can help avoid collisions that can result from temporary disorientation at low altitude.
If you lose visual reference or something feels off or wrong, immediately transition to your instruments and begin to climb. Establishing level flight is the most important aspect of recovery, and climbing as an instinctive action can help avoid collisions that can result from temporary disorientation at low altitude.

When it comes to low altitude flight, don't fly lower than is tactically necessary. Nap of the earth flight is at a significantly heightened risk of collisions in low illumination, as wires become impossible to see and even larger obstacles can be virtually invisible. Your UI altitude reading displays in meters above the ground, essentially acting as a radar altimeter. Using this, it's a good idea to keep a 'hard deck' during transit of no lower than 40 or 50 meters in particularly bad lighting. Whenever possible, try to fly at significantly higher altitudes, and as part of your planning process, pick a route that allows you to descend down to a landing with minimal chance for mishaps on the way.
Landing
As for landing, there are things that can be done both from ground forces and the air crew to help facilitate a safe landing.
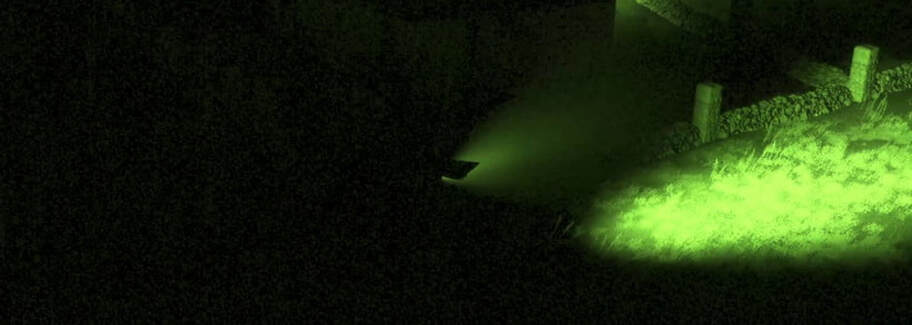
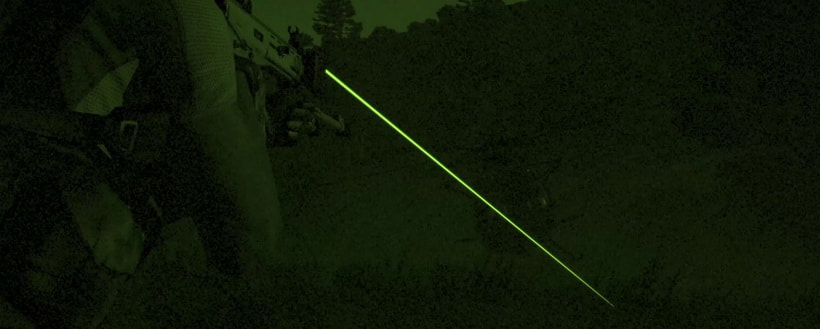
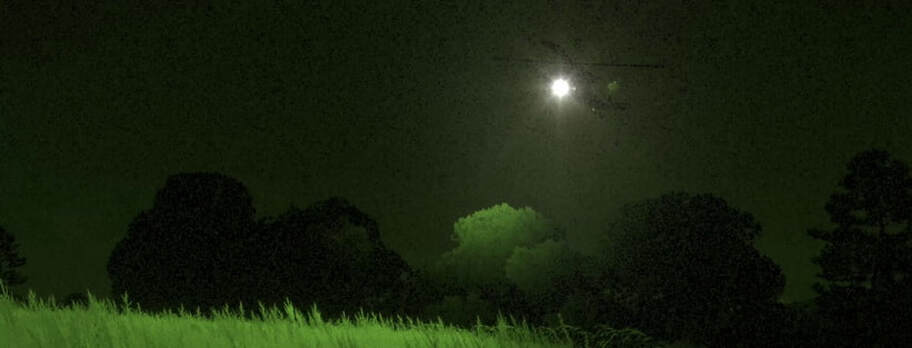
Ground elements can mark landing zones with infrared strobes, via laser beams, or by shining a flashlight on the ground. In addition to that, aerial flares can be employed to illuminate the LZ area, either fired from infantry weapons or as artillery support missions.
Ground elements can mark landing zones with infrared strobes, via laser beams, or by shining a flashlight on the ground. In addition to that, aerial flares can be employed to illuminate the LZ area, either fired from infantry weapons or as artillery support missions.
When utilizing flares, continuous illumination should be achieved by ensuring that a new flare is deployed in advance of the prior one burning out, resulting in an overlap with the prior flare. Even a few seconds of blackout conditions can wreak havoc in the final phase of an approach.
In extreme cases, crew within a helo can throw hand flares out of the aircraft to light up the terrain below, using the ACE grenade throwing system. Likewise, ground elements can destroy vehicles to illuminate an area – such as by driving a knocked-out enemy truck near an LZ, then hitting it with an AT4. Infantry must remember to keep this sort of illumination offset from the actual landing site! The pilot should be able to make an approach without being blinded by the illumination in the process. This is particularly important during extreme low visibility. Infantry should never shine flashlights at the helicopter, either, as these can produce glare and blinding effects.

Finally, as mentioned before, be prepared to use your landing light whenever the tactical situation necessitates it. Better to be shot at while you're landing than to not take any fire while you plow into a forest you didn't realize was below you.
Closing
We've covered many of the topics relevant to nightvision flight in Arma when using a system that more closely replicates the issues inherent in real nightvision. As with everything, practice is an essential part of developing familiarity and skill at this style of flight. If you put in the time to practice and treat it seriously, you can develop a solid personal skillset that will help to make you more comfortable and capable even in the lowest-light conditions.
