If you've read the chapter on the Pedestal Defense, you'll recognize a lot of the same themes at play here. It's worth watching or rewatching that guide, as this builds on concepts introduced there. The two maneuvers are very similar, with the difference being that this is intended to be a smooth, rapid, high-speed, altitude-agnostic attack, whereas the defense is primarily about defending against a threat. The devil's in the details, so let's get into it.
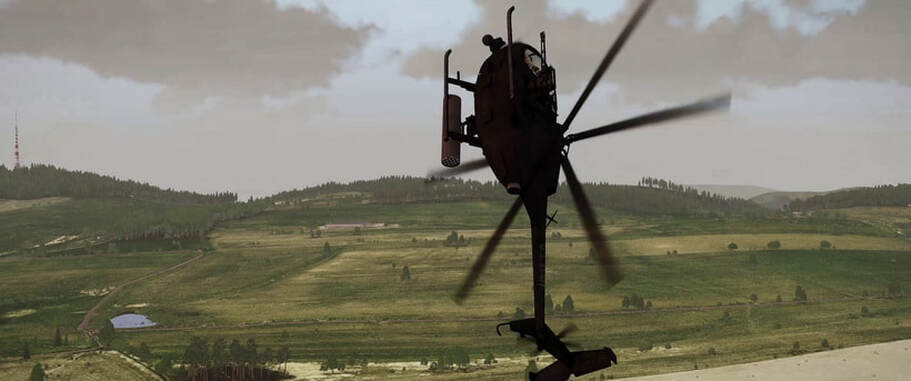
A pedestal attack is a technique you can use when you have a sudden need to attack a target that presents itself close to your front and aligned with or slightly offset from your flight path. These are scenarios where you can't immediately do a direct attack - your speed makes pedal input unusable, and the time required to roll to the target, roll out and align, take a shot, and recover means you'll be unlikely to manage it all in time. The closer the target, the more improbable a direct attack becomes. Note that this is an altitude-agnostic technique, so long as the helicopter you're using is nimble enough for it.
A pedestal attack is a technique you can use when you have a sudden need to attack a target that presents itself close to your front and aligned with or slightly offset from your flight path. These are scenarios where you can't immediately do a direct attack - your speed makes pedal input unusable, and the time required to roll to the target, roll out and align, take a shot, and recover means you'll be unlikely to manage it all in time. The closer the target, the more improbable a direct attack becomes. Note that this is an altitude-agnostic technique, so long as the helicopter you're using is nimble enough for it.
How It Works
So, what are the key points of this? How does it work?
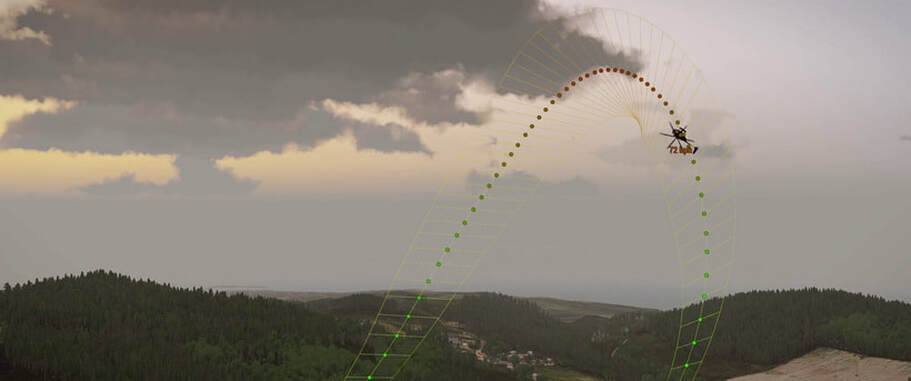
The basic principle is that you're taking your energy, in the form of high speed, and exchanging some of it for altitude and maneuverability. You go from high speed and low maneuverability to lower speed and higher maneuverability, ending up above the target in an agile state. This lower speed and nose-down attitude means that you're able to use pedals and rolling to align quickly on the target before gravity increases your speed again. This orientation also ensures plunging fire, which increases rocket precision and can be a major consideration when working close to friendly ground forces.
The important thing to remember is that the altitude you're gaining is primarily to change your speed into something more manageable, and that the same concept applies whether you're flying NOE or at a much higher altitude.
Procedures
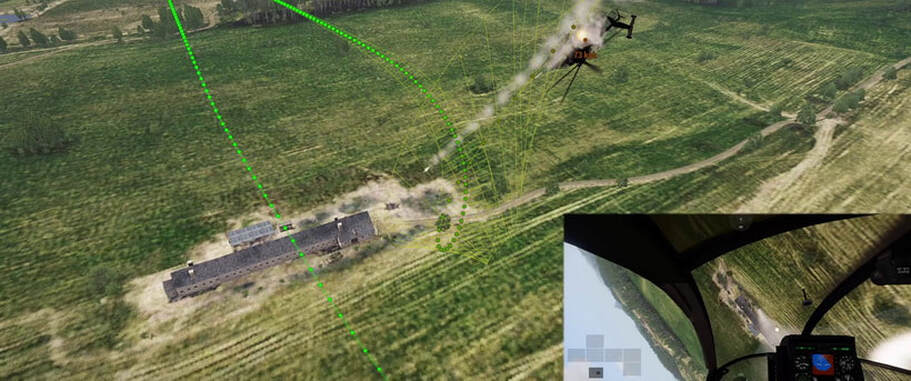
We'll talk about the purest form of this maneuver first, then explain some alternate aspects afterwards. This is a scenario in which you pass almost directly over your target at high speed and low altitude.
While looking at the target and immediately after flying over or past it, give full aft cyclic to begin a maximum rate climb. You can apply slight roll before the climb as the situation requires.
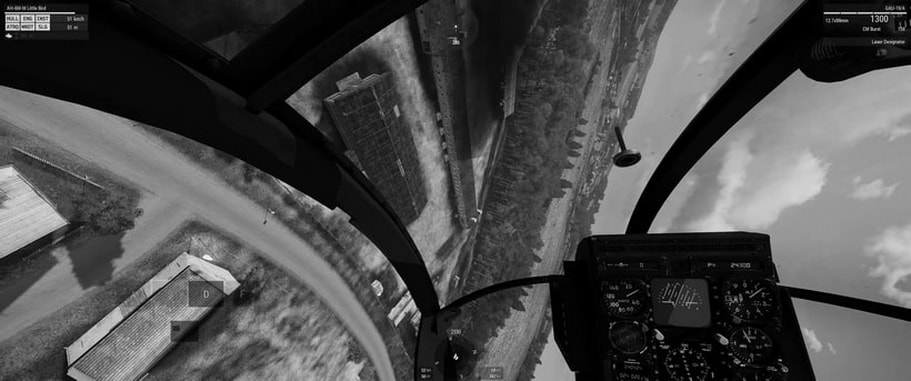
As you approach a vertical orientation, lessen cyclic. Keeping the target in sight, apply pedal in the direction of it as if you're doing an ag turn. You may end up looking through the top of the canopy during this, but ensure that you don't roll completely over onto your back. The goal is to get your nose to go from pointing straight up to down at the target via mostly pedal movement, without inverting yourself in the process.
While looking at the target and immediately after flying over or past it, give full aft cyclic to begin a maximum rate climb. You can apply slight roll before the climb as the situation requires.
As you approach a vertical orientation, lessen cyclic. Keeping the target in sight, apply pedal in the direction of it as if you're doing an ag turn. You may end up looking through the top of the canopy during this, but ensure that you don't roll completely over onto your back. The goal is to get your nose to go from pointing straight up to down at the target via mostly pedal movement, without inverting yourself in the process.
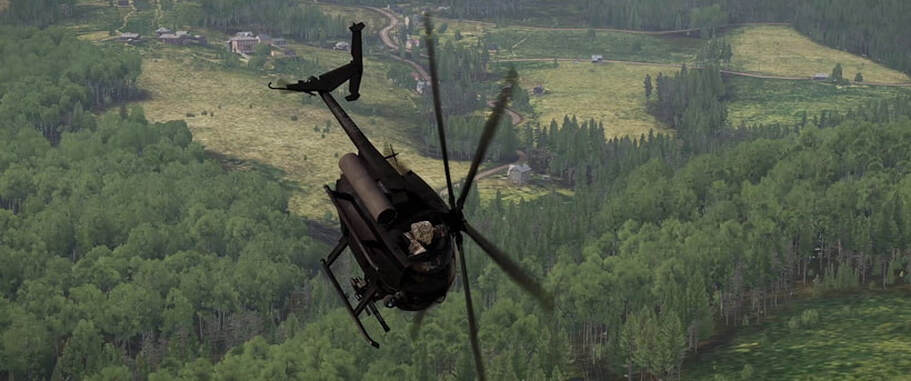
As you come down from the reversal, roll to align yourself with the terrain, such that an upward pitching movement will act as recovery.
At this point you will have a short window in which to refine your aim via pedal input and fire. You should be constantly thinking "break, break, break" in your head to remind yourself of just how important it is to not get target fixated here.
At this point you will have a short window in which to refine your aim via pedal input and fire. You should be constantly thinking "break, break, break" in your head to remind yourself of just how important it is to not get target fixated here.
So, to reiterate the process: - Conduct a max-performance climb as you pass the target - When vertical, slow your pitch and begin using pedal and roll to ag turn in the direction of the target, avoiding becoming inverted - Level yourself as you're descending to the target, get your sights on it, and fire - Break from the attack and recover
To reiterate the risks: - You're doing an ag turn, not a loop - don't go over the top of the loop - Don't allow yourself to become inverted - Don't fly into the ground while trying to line up the perfect shot - You can always make a second pass if the first isn't working out
To reiterate the risks: - You're doing an ag turn, not a loop - don't go over the top of the loop - Don't allow yourself to become inverted - Don't fly into the ground while trying to line up the perfect shot - You can always make a second pass if the first isn't working out
Variations
The distance you're passing from the target, as well as your altitude, will give you some variations to consider. Let's look at the typical variations - looping, roll influence, and high-altitude.
Looping
A loop variant occurs when you pass directly over the target and are highly confident in being able to conduct a full loop in which you will often fire without interrupting the loop or while inverted. This is a dangerous variant and requires a good amount of practice to determine the limitations of. The ag turn nature of the normal variant provides time, safety, and resilience to slight variations of form that a pure loop does not.
A pure loop will generally result in you firing while still inverted, then either completing the loop or rolling out into a recovery, depending on the geometry to the target.
A pure loop will generally result in you firing while still inverted, then either completing the loop or rolling out into a recovery, depending on the geometry to the target.
Rolling
When passing within roughly 50 meters of the target, you should choose to do a mostly vertical maneuver. This gives you the most opportunity to gain altitude, and being closer to the target makes additional altitude more advantageous.
When greater than 50 but less than 100 meters from the target, you'll want to try rolling slightly towards it to help get above it and into its dead zone.
Remember that the lower your altitude, the more any tilting of the loop will decrease the time available to take the shot due to less altitude having been gained through it. Significant tilting can become extremely dangerous at low altitude - when you're offset from the target more than 50 meters or so, you always want to ensure you spend some time gaining altitude during the vertical phase of the maneuver. The higher your altitude, the safer it is to roll.
Altitude Variant
When you're high up and further away from a target, you're no longer able to do a standard pedestal attack. However, you are able to use this technique to set yourself up for a better dive.
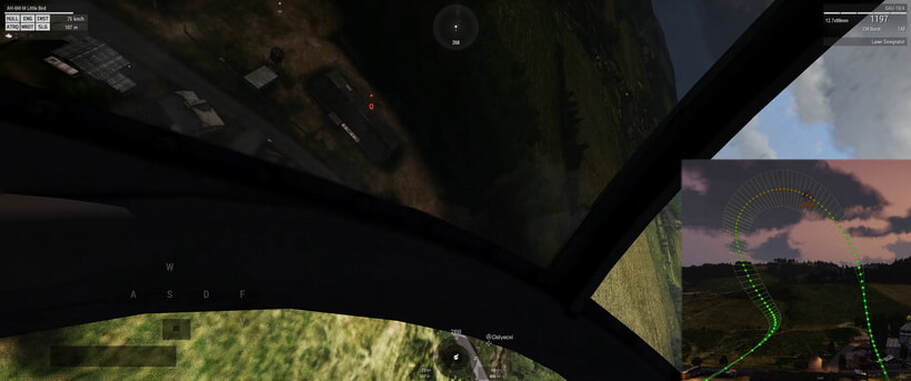
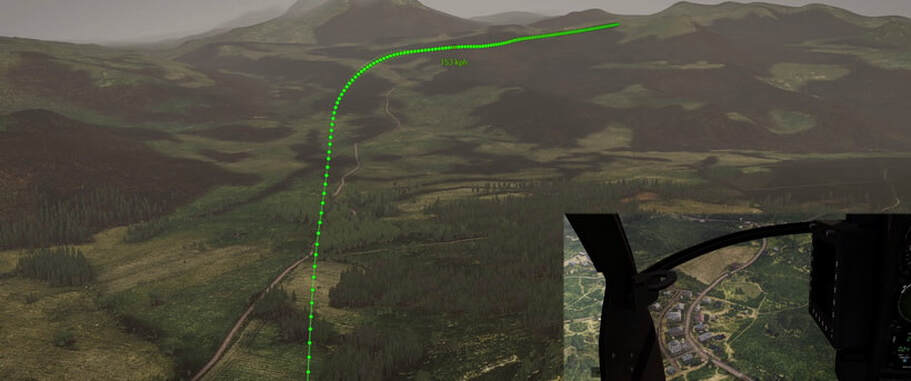
Here's an example of a typical diving attack. You're going fast, then you get even faster in the dive. By the time the shot is taken here, it's diving at 230 kph, making controllability challenging.
Here's an example of a typical diving attack. You're going fast, then you get even faster in the dive. By the time the shot is taken here, it's diving at 230 kph, making controllability challenging.
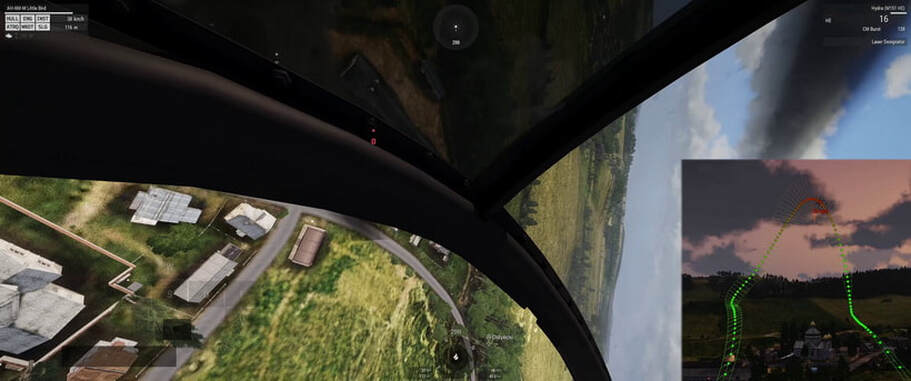
By comparison, here's a usage of the pedestal attack technique as a set-up to a better dive. You can see that the dive starts at a much more controllable speed. The first shot is taken at 140kph, the second at 195 - both sooner than the single shot managed with the straight dive.
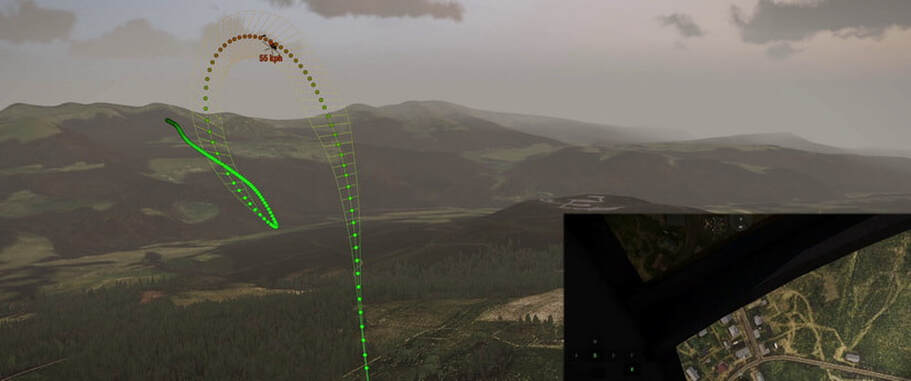
To do this, conduct a typical pedestal climb, and while you're about halfway up, start rolling in the direction of the target. Do the rest of the typical pedestal steps and you'll find yourself oriented at the target on the initial phase of a dive, with some extra time available to align and fire before your speed lowers your maneuverability.
This variant can be useful if you're orbiting a target from a distance and want to quickly attack it when the opportunity presents itself.
This variant can be useful if you're orbiting a target from a distance and want to quickly attack it when the opportunity presents itself.
Practical Usage
There are a few specific scenarios where the pedestal attack tends to crop up as a useful technique. One of them is when you're orbiting to protect a friendly ground element, and something ends up moving under you towards friendlies. Time is often critical in these situations, and a pedestal attack allows you to immediately engage the threat from where you are.
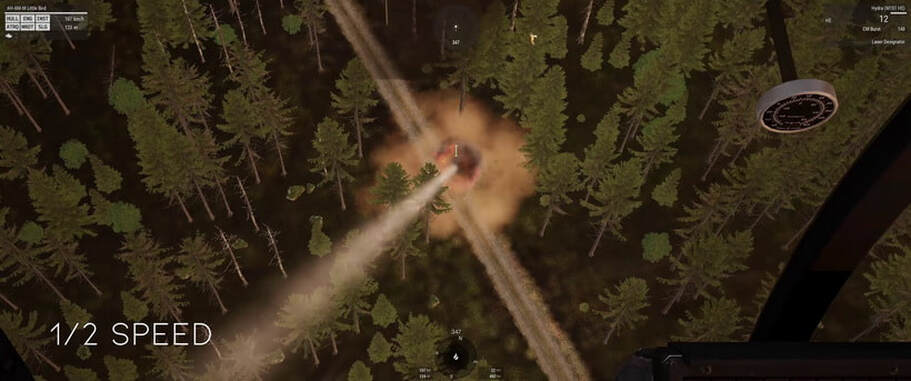
The other scenario this tends to be helpful in is anything where you're having to stay very low and fast, and don't always have the luxury of extending away from a target to engage it. You may zoom past a treeline and realize a piece of light armor was on the other side of it, and before it has time to react and traverse to you, you're already above it putting rockets down onto its roof.
The other scenario this tends to be helpful in is anything where you're having to stay very low and fast, and don't always have the luxury of extending away from a target to engage it. You may zoom past a treeline and realize a piece of light armor was on the other side of it, and before it has time to react and traverse to you, you're already above it putting rockets down onto its roof.
Closing
As with all things flight, practice is key to being able to employ this technique on-demand. It's an easy one to practice in the editor, and in doing so you'll be able to discover all the different ways in which this can be accomplished.
Video Notes
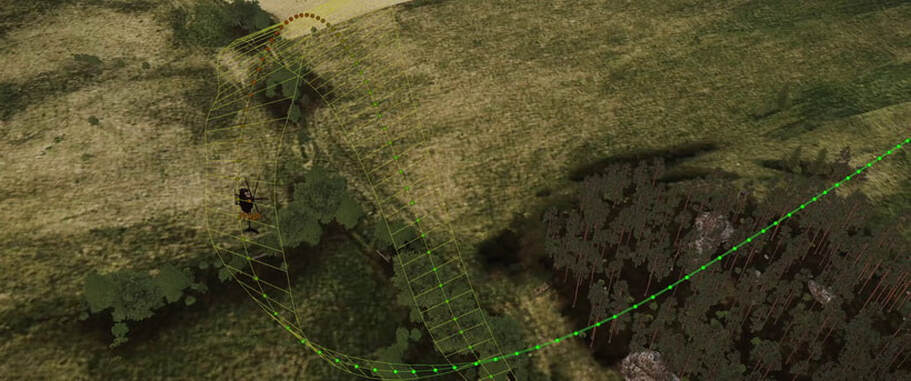
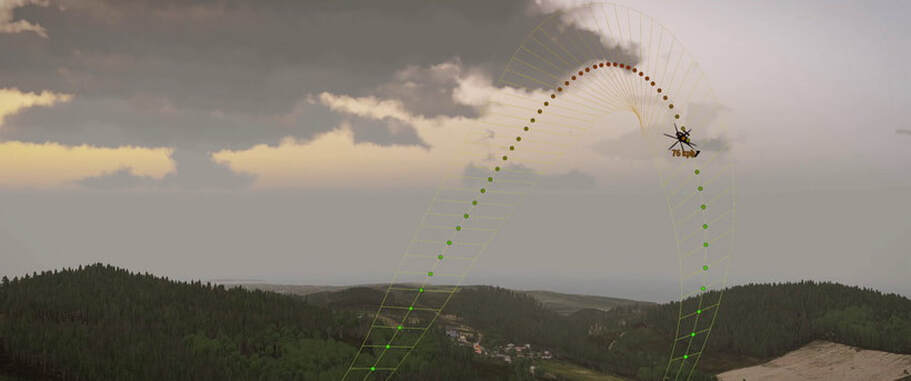
The in-game visualizations used to show the aircraft path are pretty intuitive, but if you were curious, the color of the dots and lines corresponds to the speed at that moment, and the width of the lines is an approximation of the lateral maneuverability - the ability of the tail rotor to move the nose around. This is why you see the path open up as it reaches the apex of a climb, and it helps to represent the range in which you have the highest control.
Practice Tips
When practicing, try these sorts of things to see how they play:
Try this with different aircraft. The general technique is applicable across a wide range of attack helicopters, with the differences being that the larger a helo gets, the more sluggishly it tends to behave, and the distances and altitudes can shift as a result. This can be done with the RHS AH-64s just fine, though it's not necessarily the first thing you'd probably think to do when flying one.
Try altering when you start your climb. Starting before, at, and a moment past the target can give significantly different results. It's best wait until a split-second past them to have better angle when attacking them, whereas climbing directly above them can make for steeper angles in some situations. This decision can be influenced by whether or not a target has seen you and is firing - initiating a moment before getting to them tends to make it easier to stay in their dead zone, but you're generally pretty safe within a half-second of either side of them.
Try doing this passing parallel to the target at >150 meters distance while at high speed and low altitude. You'll tend to find that this is roughly the range at which the technique stops being usable and instead transitions to something else. There's a "dead zone" of sorts that occurs just before you get to the minimum turn radius distance from the target. Trying to force a pedestal in this range is dangerous, as it's easy to flounder while trying to make it work in a way that it's not meant to.
General Notes
Remember to align only as much as is necessary to get the effects you want, such as mobility-killing a soft vehicle. With practice, you'll find it possible to take a shot on the target while still pitching, allowing for a smooth and immediate transition into recovery. This is most significant for the loop variant, but in a hot environment it can be important in general.
You generally want to end up nose-down with almost all of your target finesse happening as a result of pedal movement. If you end up having to do a lot of rolling to align, this is usually because you got out of alignment with the target when initiating the maneuver, flubbed something, or the target was moving and drove out of the spot you'd been hoping to engage it. Needing to do a lot of roll for alignment can quickly become dangerous and is something to be wary of, so if you don't feel like you're going to be able to get aligned, break early and try again.
As was noted in the Pedestal Defense, vehicles that try to track you as you fly above them have to traverse their turret quite a bit to do so. With the speed that turrets turn as well as your proximity to the target during this, you can actually watch and see when you might be threatened by their weapons. It's entirely possible to do an immediate reattack by taking advantage of this traversing time, or you can use that knowledge to help plan which way you're going to egress.
