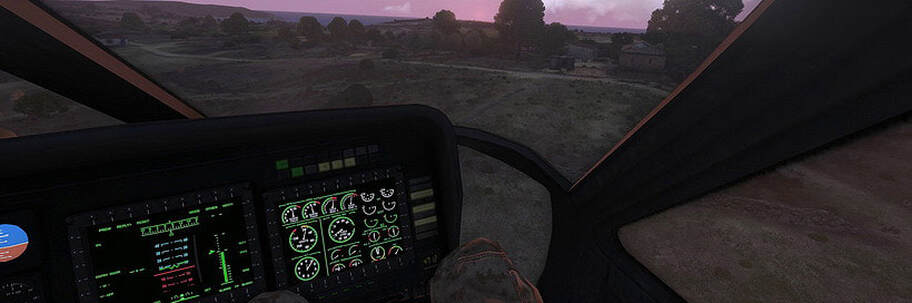
This chapter is going to focus on knowing how to control your helo’s speed, understanding your options in maneuvering, and then look at how this all comes together for a landing.
To start, let’s look at a variety of different concepts you need to become comfortable with as a helo pilot.
To start, let’s look at a variety of different concepts you need to become comfortable with as a helo pilot.
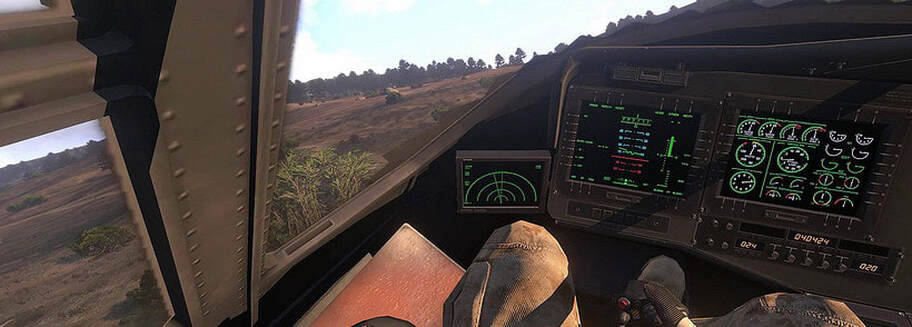
Balanced Flight
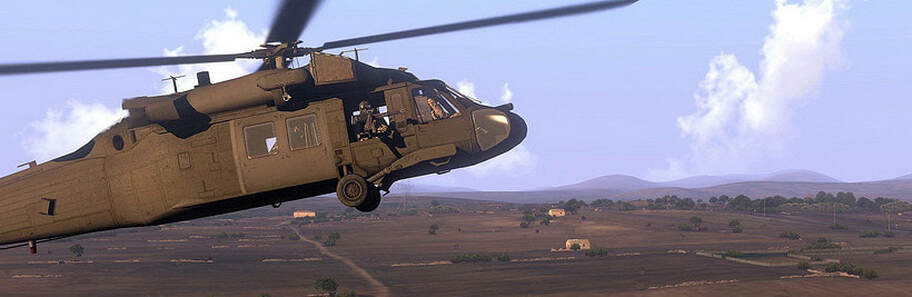
An important core concept is that of balanced flight - where you’re flying at about 70 to 130kph, where maneuverability and speed find themselves well-balanced. The balanced state is what you want to be in as you’re making your final approach into a landing zone - you’re moving at a decent speed, but you still have good maneuverability and are able to rapidly flare and come to a hover on short notice.
It’s easy to get into a balanced state when coming from a lower speed, but reaching it from higher speed without excessive altitude gain requires a particular technique, which we’ll cover as part of bleeding speed. The balanced state is what you want to be in during any situation where being able to decelerate smoothly is expected, or rapid, sharp maneuvering is desired. We’ll talk more on this later, as it factors into much of this discussion.
Remember that descending picks up speed rapidly - staying in the balanced state requires awareness of this, and when it comes to making a straight-in approach to a landing zone, being comfortably close to the altitude of the landing zone helps to expedite the process.
Flaring
The next topic we’ll cover is flaring. The conventional view of a flare is that it’s a maneuver used during landing where you pitch the nose up and reduce collective, which causes you to lose speed, which in turn makes it safe to land. In the helicopter world, flaring without landing is known as a quick stop - where you bleed speed rapidly by flaring and then coming back to a level attitude. For our purposes, flaring is simply the process of decelerating by pitching the aircraft and adjusting collective such that it loses speed.
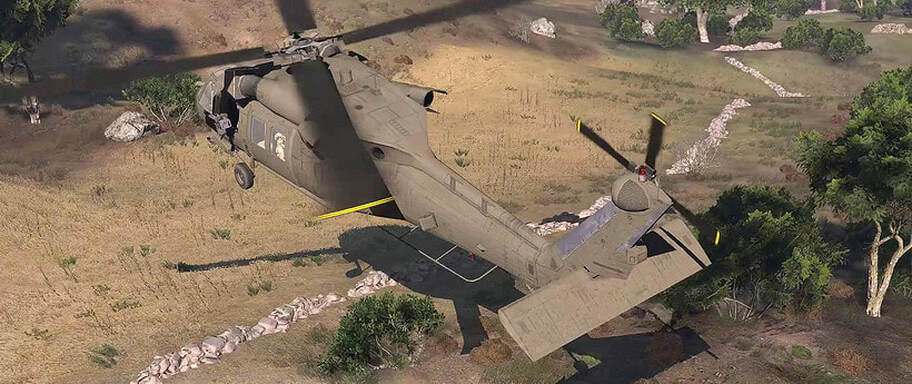
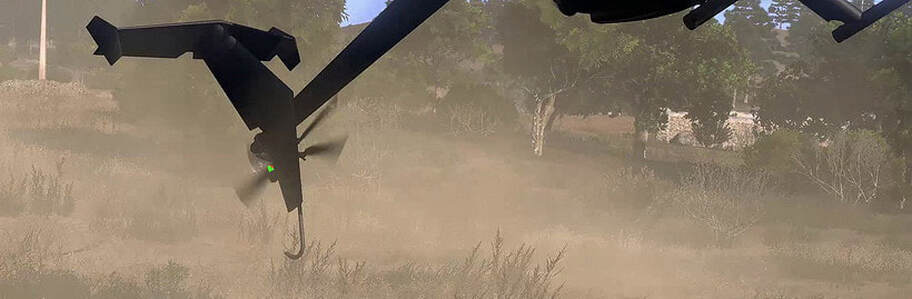
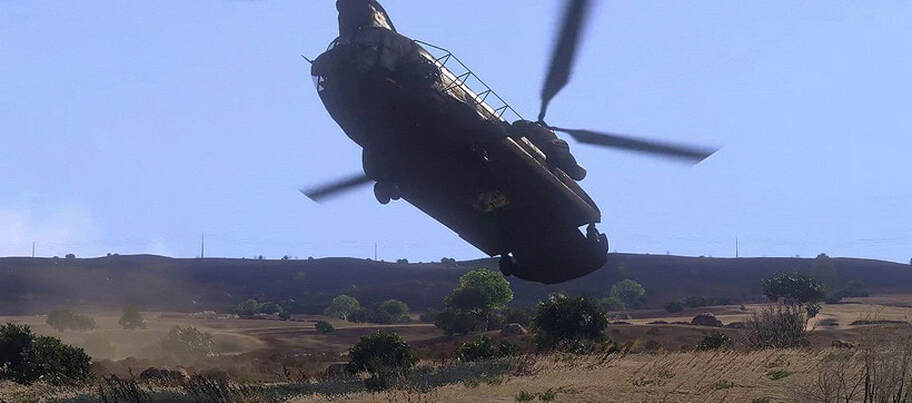
At lower altitudes, it’s essential to be aware of the tail of your aircraft when flaring. At extreme low level, such as right before landing, flares are constrained by how far you can pitch your nose up before your tail boom and rotor risk colliding with the ground. Remember that in a pinch, you can flare harder by gaining some altitude at the same time, as demonstrated here.
There are many variations of flaring - let’s go over the main categories.
Landing Flare
This is a landing flare. You fly forward, pull back on the cyclic while decreasing the collective, and when you see yourself slow sufficiently, you pitch forward and ease yourself down. The most important part of this is ensuring that you touch down fairly gently in order to avoid airframe damage.
Quick Stop
By contrast, this is a quick stop. The best method to do a prompt quick stop is to use your pedals to bleed off speed more quickly, coming to a stop perpendicular to your direction of flight via a sideways flare, then using pedal to reorient however you need to. An important aspect of a good quick stops is being able to anticipate the helo’s movement and not wobble while coming out of the flare and back into a hover.

Bleed Flare
You can also flare during normal flight in order to more rapidly change speed - this is known as a bleed flare. A bleed flare is often used to transition from higher-speed travel to a more controlled state, known as the balanced state, in preparation for landing, without raising your altitude in the process. We’ll talk more about this shortly.
Barrier Flare
A barrier flare is a technique in which you heavily flare in order to avoid impacting an obstacle. Barrier flares are the most aggressive of flares - they involve a hard aft cyclic movement followed by raising collective. You’re trying to use all of your power to arrest your forward speed in order to avoid an obstacle such as terrain, buildings, power or telephone poles, and so forth.
Barrier flares are something you want to practice extensively, as they can become useful in moments of unexpected danger, but can also become a technique you can employ to do rapid landings. The key to practicing and perfecting barrier flares is to be able to judge exactly how much pitch is required to avoid a collision, and then be able to rapidly recover into a hover without drifting excessively backward.
Barrier flares are something you want to practice extensively, as they can become useful in moments of unexpected danger, but can also become a technique you can employ to do rapid landings. The key to practicing and perfecting barrier flares is to be able to judge exactly how much pitch is required to avoid a collision, and then be able to rapidly recover into a hover without drifting excessively backward.
Barrier flares can come into play with autorotations as well, particularly when tall trees are involved. Knowing how to flare to avoid a tree, then rapidly recover to avoid striking your tail on the ground, can be the difference between whether or not you survive an autorotation.
Out-of-trim Flight
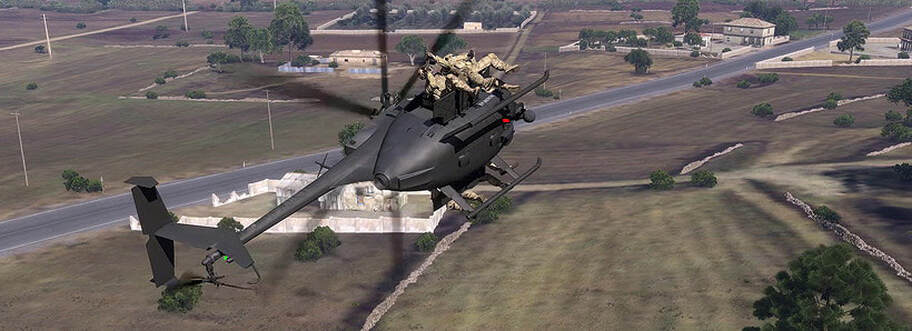
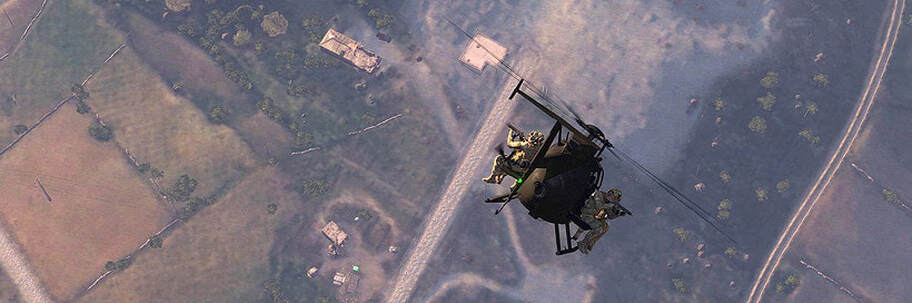
One of the biggest things to remember as a helicopter pilot is that at lower speeds, you have options available to you that you don’t have at higher speeds. You’re not restricted to flying in the direction the nose is pointed, and there are often good reasons to have your nose offset from the direction of flight.
Visibility
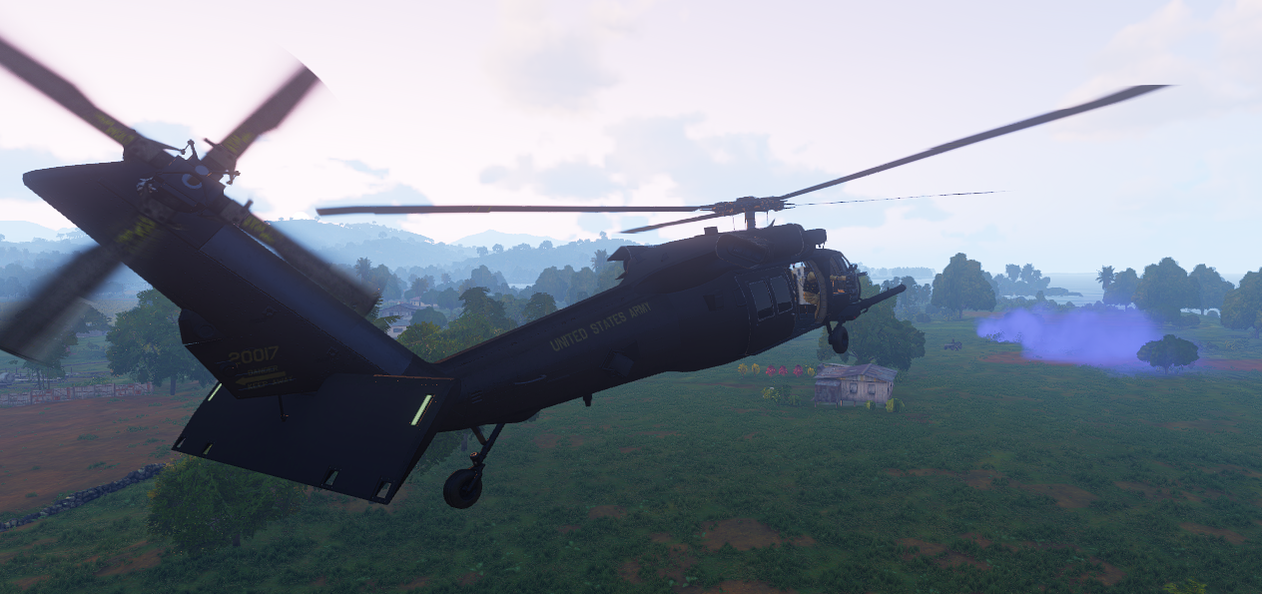
In larger helicopters you have greater visibility to your front-left or front-right, depending on which side you’re sitting on, than you do looking forward. Due to this, flying with an offset in that direction can give you greater visibility in the terminal phase of a landing. You don’t have to land out of trim necessarily, but you should be capable of doing this. Just remember that when you’re at low altitude in an out-of-trim state, your tail rotor and tail boom have shifted to one side and can snag on obstacles if you’re not accounting for their altered location relative to your direction of flight
Flaring
This concept also applies to flaring, which becomes orientation-independent at lower speeds. If you have sideways movement, such as from using pedal to yaw into your direction of turn, rolling opposite of that movement acts as a flare, the same way pitching back would flare you when moving forward. If you’re flying backwards, pitching forward flares and arrests your movement. This sounds basic, but it’s an important concept to remember - you can take advantage of this in creative ways.
The most common use of this is when attempting to bleed speed in the terminal phase of an approach. Increasing pedal deflection will cause your aircraft to slow more rapidly, and when taken further, you can end up flying sideways, using a rolling motion to flare for your landing. This technique is generally the quickest way to slow down through your final landing phase, though it isn’t always the best choice when operating closely with other aircraft.
The most common use of this is when attempting to bleed speed in the terminal phase of an approach. Increasing pedal deflection will cause your aircraft to slow more rapidly, and when taken further, you can end up flying sideways, using a rolling motion to flare for your landing. This technique is generally the quickest way to slow down through your final landing phase, though it isn’t always the best choice when operating closely with other aircraft.

Lateral flares have an additional benefit that can be very helpful at rapidly bleeding off speed at low altitude. As talked about earlier, a traditional trimmed-up flare at low altitude has to consider the dimensions of the tail - if you flare too steeply, you strike your tail, and bad things tend to happen.
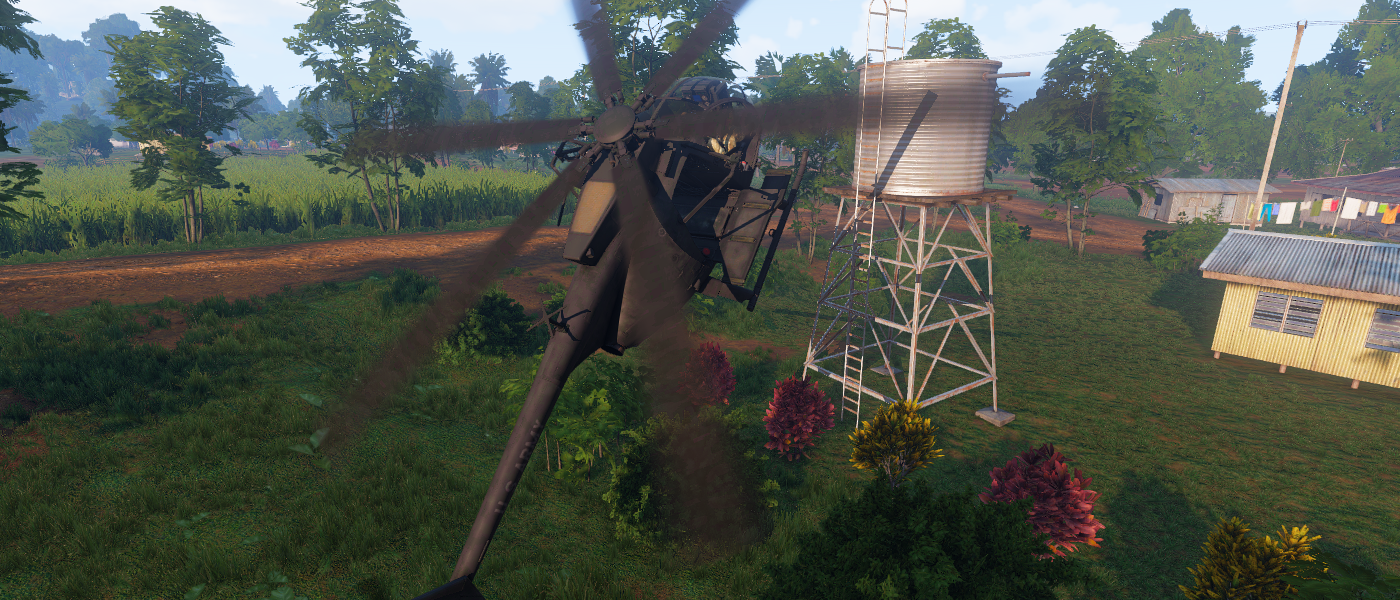
However, if you’re flying out of trim, you can dramatically change how much flare can be applied. A lateral flare doesn’t risk the tail boom striking terrain - instead, you can roll to an extreme angle as part of the flare, as you see here. This can allow you to come into a landing site faster and lower than you could going nose-forward and quickly bleed your speed via a lateral flare before setting down.
Another nuance here is that a lateral flare can be held to some degree until touchdown - decreasing altitude won’t cause a tailrotor collision as a forward flare would if you didn’t level out before touchdown
Another nuance here is that a lateral flare can be held to some degree until touchdown - decreasing altitude won’t cause a tailrotor collision as a forward flare would if you didn’t level out before touchdown
Extremes
The most extreme example of out of trim flight is when you’re flying at speeds within the balanced state, yet aren’t aligned with your flight direction. As long as you have the tail rotor authority to counteract the weathervaning tendency of a helicopter, you can fly in one direction while your nose is pointed ninety degrees perpendicular to it, as you see here. Flying around like this is a good practice exercise, as it allows you to become familiar with the controls required to maintain such flight. In this case, everything is rotated ninety degrees - forward pitch will actually act as right roll, left roll is acceleration, aft pitch is left roll, right roll is deceleration. Controlling your speed during this is essential, as too much speed will cause the helo to snap orientation into the direction of flight.
Bleeding Speed
Altitude is something a helicopter pilots has to carefully control, particularly in a combat zone. The distance between safety and danger can often be measured in meters, and inadvertently gaining altitude at the wrong time can spell disaster for a crew, the aircraft, and the passengers.
The most common issue with gaining altitude comes from bleeding speed during the final approach into a landing zone. If not done carefully, pitching up to try to bleed speed can cause you to gain a significant amount of altitude and leave you vulnerable for a long period of time - not only did you climb to a higher altitude inadvertently, now you have to slowly descend back through that altitude to land.
Because of this, you have to know how to bleed speed without gaining altitude - and there are several basic techniques for this. The goal of all of these is to transition your aircraft from the high-speed travel phase, into the balanced state described earlier.
Bleed Flare
The first is a bleed flare, which a combination of down collective and aft cyclic are used to slow down without rising. Conducting a bleed flare is done by using opposing inputs to cancel each other out. As you lower collective, you can pitch the nose up to balance it out - your pitch causes you to climb, whereas the lower collective causes you to sink, and you end up doing neither, but instead simply flying forward along your path while slowing down. Adjusting the ratio between collective and pitch allows you to change your flight path with precision. Remember that it may take a few moments to reach full down collective in the normal flight model, as well as go from full down to full up collective.
Being able to conduct a bleed flare with proper timing and execution is an essential skill, and tends to be your go-to option for most situations.
Being able to conduct a bleed flare with proper timing and execution is an essential skill, and tends to be your go-to option for most situations.
Scissors Flare
It’s not the only option though. Sometimes you’ll be too fast or notice too late that you need to flare, or you’ll need to fly into an area at a speed that makes it harder for a bleed flare to be used.
When you find yourself in that situation, a scissors flare can be used. This is where you snake your way towards the landing site - you roll to one side, pull up, reverse the roll, pull up, and repeat this until you’ve slowed down enough to either bleed flare into the balanced state or simply land.
Scissors flares are particularly useful when you’re flying into an area where you can’t overfly the LZ. It’s also very helpful when needing to rapidly drop altitude and speed simultaneously. Scissors flares require a helo that has good roll authority - if you’re flying something sluggish like a Chinook, this technique doesn’t apply. The better the roll, the more likely you’ll find success with scissors flares.
Switchback Turn
The other common option, which tends to work well for smaller aircraft like the Littlebird, is a switchback turn.
A switchback is done by flying and then rolling to one side and doing a maximum performance turn via aft cyclic while simultaneously inputting pedal in the direction of the ground - so left pedal if rolled to the left - and lowering collective fully. This will very rapidly bleed off your speed and allow you to set down on short notice. Failure to lower collective will tend to result in you flying an orbit instead of cutting it into a full turn, while not using pedal will result in the maneuver taking longer to complete. Aim your nose somewhere roughly level with the horizon - you can pull your nose below or above the horizon to influence the sharpness of the turn as needed.
The difference between a switchback and a scissors or bleed is that switchbacks are most efficient when flying slightly past and to one side of the landing point, whereas scissors flares are used when you can’t overfly the landing point.
Switchback turns can be done either at the balanced state or at higher speeds - when done in the balanced state, they tend to give you a nice single hook turn, while doing them at high speed can cause you to end up in a spiral turn around your desired target. A spiral turn is a workable situation to be in, but if time is of the essence, it’s best to be in the balanced state from the start so that you spend as little time as necessary in the shortest possible turn.
Funnels
A funnel maneuver is when a helicopter conducts an orbit while keeping the nose pointed towards the center of the orbit. This is essentially circle-strafing in a helicopter - it has almost no combat application, but it’s a useful technique to understand and practice. To do this, you use pedal to offset the yawing tendency of the helicopter at lower speeds. Point your nose towards the center of your desired orbit, then use a roll to accelerate laterally while keeping your nose pointed into the center of the orbit by pedal usage. The basic skills needed to conduct a funnel can come into play when doing spiral maneuvers, which we’ll talk about shortly.
Descending
Arma’s normal flight model works well for most things, but if one were to point at a weakness of it, it’s the collective response for descending. Descending in an Arma helo can be a chore - taking longer than you’d expect from a real helo. While shallow full-down-collective descents have their place and work much of the time, there are other techniques that can be used to get low, fast.
Dive and Switch
First you have the dive-and-switch. This is a way to very rapidly change altitude and also get to whatever speed state you desire. Initiate this by diving steeply, aimed towards where you want to end up. Make sure you don’t descend at too high of a speed - Arma helos lose controllability at high speeds and become significantly more sluggish before that. Keep making control inputs as you descend, such that you’re able to maintain awareness of when you start to lose responsiveness.
Once you’re at low altitude, if you’d like to change speed, roll to one side and initiate a switchback turn. Once you’ve reached the speed you wanted, exit the switchback turn and resume flight.
Once you’re at low altitude, if you’d like to change speed, roll to one side and initiate a switchback turn. Once you’ve reached the speed you wanted, exit the switchback turn and resume flight.
Spiral Descent
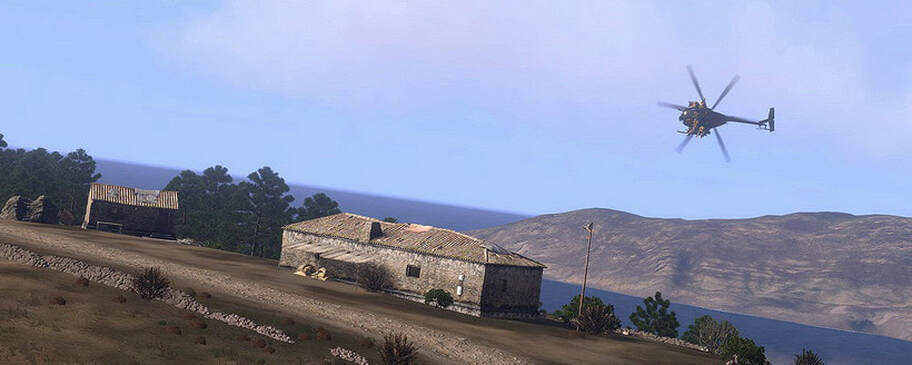
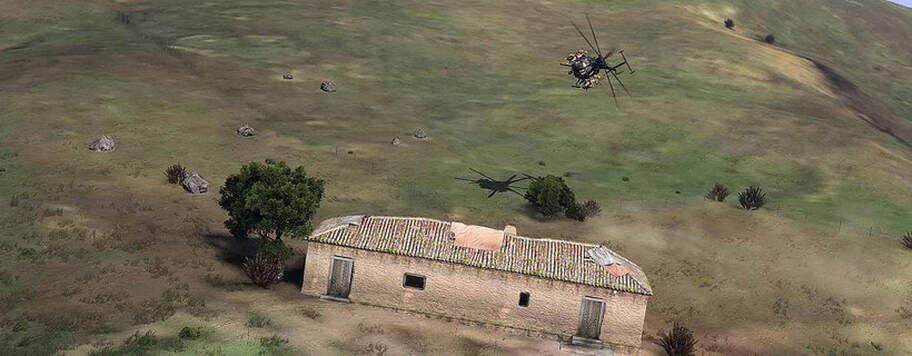
Next is a spiral descent, and it works like it sounds - you enter into a turn while descending. The sharpness of the turn and aggressiveness of the descent can be tweaked as needed to fit this situation, making it possible to use this for a variety of different purposes. In this example, the helicopter below a short spiral that ends with me going in the original direction, but now at nearly ground level. This can be a nice way to set up for a grazing guns approach as an attack aircraft, or to get roughly level with the landing zone as a transport pilot.
At other times you may want a more relaxed spiral, such as when changing altitude in an area that you know is safe, before flying into the unknown.
At other times you may want a more relaxed spiral, such as when changing altitude in an area that you know is safe, before flying into the unknown.
Landings
Let’s look at all of these techniques as they relate to landing approaches. We’ll go through each style and talk about what to do and why, and show how it all comes together.
Landing w/Bleed Flare
This is a very traditional landing approach. This is done whenever practical, as it gives you greater depth perception of the landing area and makes you a slightly more difficult target for the enemy to lead. A bleed flare is initiated, and after a bit of that, you’ve arrived at the balanced state, which you hold as you go into the LZ. After picking out an appropriate landing point, a quick final flare is done to get down into the LZ.
Landing w/Pedal Offset
Using a similar approach, here you continue to input pedal as you come into the balanced state. The slower you go, the more this yaws you away from our direction of flight, and when you get to the landing point, a quick sideways flare settles you into it. This method allows for a faster approach to the LZ than the traditional bleed flare, but isn’t always applicable with multiple aircraft in one LZ, or in more cluttered landing zones.
Here’s another example of a pedal offset landing, as done in a Chinook. By sliding into the LZ out of trim, you're able to more clearly see where you are landing and can ensure that the entire helicopter can set down without issue.
Here’s another example of a pedal offset landing, as done in a Chinook. By sliding into the LZ out of trim, you're able to more clearly see where you are landing and can ensure that the entire helicopter can set down without issue.
Landing w/Scissors Flare
In a scissors flare, pedals are used to keep the helo out of trim as much as possible, using the airframe to cause additional speed bleed. Once the balanced state is reached, the out of trim state is maintained to help quickly bleed the remaining speed, then a normal landing is made.
Switchback Landing
One benefit of doing a switchback landing is that it allows you to land with your tail facing towards the enemy, or expected enemy. It also orients you such that you can take off and immediately fly away from said enemy - instead of having to lift up, rotate, then fly off.
In this example, the helicopter is aiming for a building that troops can occupy. The flight in is curved, making it harder for someone to line up a shot on the helicopter. As it gets closer, they helicopter is sliding towards the building while doing a bleed flare - when it gets close enough, a quick switchback turn allows the helicopter crew to rapidly set down and drop troops off. Being off in moments before flying away from the most likely enemy positions.
In this example, the helicopter is aiming for a building that troops can occupy. The flight in is curved, making it harder for someone to line up a shot on the helicopter. As it gets closer, they helicopter is sliding towards the building while doing a bleed flare - when it gets close enough, a quick switchback turn allows the helicopter crew to rapidly set down and drop troops off. Being off in moments before flying away from the most likely enemy positions.
Spiral Landing
Spiral landings can happen through several different causes. One of them is an abrupt need to land nearby - think of it like a switchback approach, but without the preparatory bleed flare. After conducting the switchback turn at this sort of speed, you may find it necessary to orbit while descending, which quickly becomes a spiral.
In general, spiral landings are where you’re fighting speed and altitude to get onto the ground at a spot nearby, as quickly as possible. You can start them from high up, and at other times it’s simply a situation you find yourself in that you need to quickly adapt to.
Spiral landings can also become a thing in an urban environment - you may need to keep your speed up to avoid ground threats, then rapidly pick and descend into a confined-space landing site.
Finale
As with all things, knowing the techniques is only a portion of the journey - having the judgment and experience to be able to choose the right tool for the right situation is a significant aspect, and being proficient in the execution of the techniques through extensive practice is absolutely critical. There’s no substitute for that practice. Put in the hours and you’ll be able to show the results of that when the going gets tough. Don’t merely practice until you get it right - drill it so often that you can’t get it wrong. Be proficient to the point that you can smoothly transition from technique to technique as the situation unfolds, and know exactly when and where each can be applied.